The Admin Search & Replace feature allows you to update internal references to posts or terms across your entire WordPress site. It is especially useful when working with dynamic content, such as Dynamic Templates or Forms, that reference other posts or taxonomies by ID.
Operation modes
Once the feature is activated via Greyd.Suite → Features, it becomes available under Tools → Greyd Search & Replace. On this page, you can choose from three modes of operation: Posts, Taxonomies, and Manually.
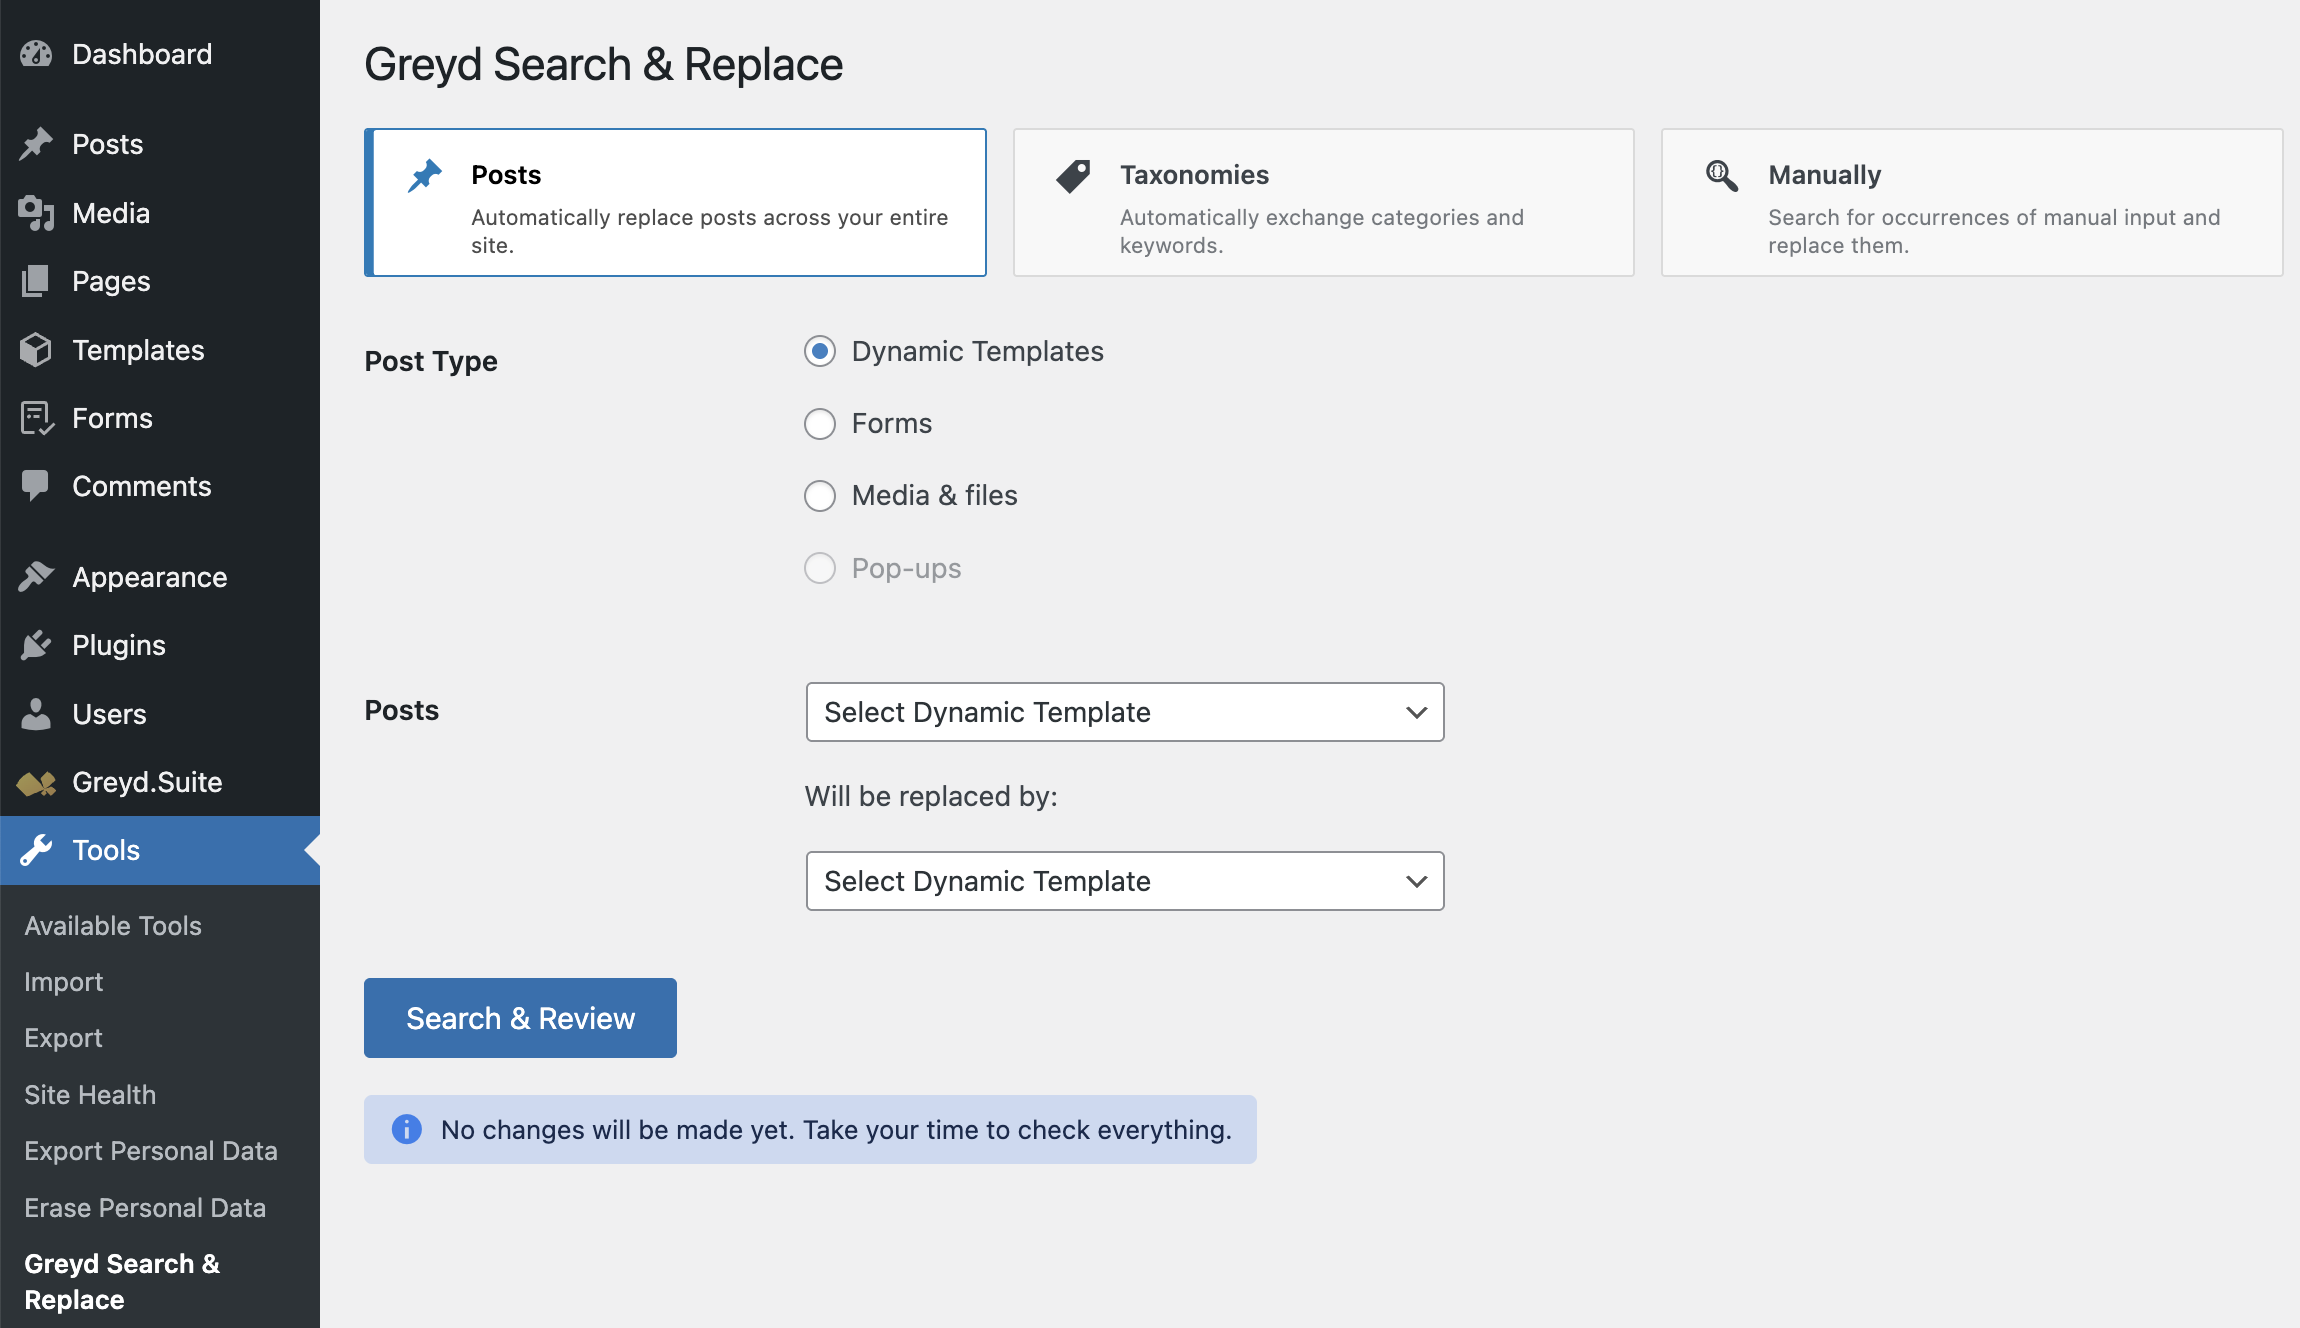
The Posts option lets you replace references to specific posts across the site. This includes anything referenced by post ID — such as Dynamic Templates, Forms, Popups, Attachments, or Terms. To perform a replacement, first select a Post Type. Then choose the source post to replace and the target post to use instead. Clicking “Search & Review” initiates a site-wide search but does not apply any changes yet.
The Terms option works similarly but targets taxonomy terms like categories or tags. It identifies all content connected to the selected term and updates the connection to the new term. This includes both taxonomy assignments and direct mentions of the term within post content. Start by selecting the relevant Post Type and Taxonomy. Then pick the term to be replaced and the new term to use, followed by “Search & Review”.
The Manual mode is intended for advanced users who want to define their own search and replace patterns using regular expressions. This option is currently not implemented.
Preview and confirm changes
After starting the search, the page reloads to show results. If no matches are found, a button appears to “Start next search”. If matches exist, a detailed review list is displayed.

There is also an optional checkbox: Move the searched post/term to the trash. Enabling this will delete the original content after a successful replacement.
Once verified, you can finalize the process by clicking “Replace now”. Note: this action is irreversible. A confirmation screen follows, showing a success or error message along with a log of the changes made. From there, you can begin a new search.
Video
Hi, this is Sandra from GREYD. Today I’d like to show you how to search your entire website for a certain element and replace it with another super easily using our search and replace feature. You’ll find the feature in the GREYD.SUITE menu on the left.
Here you can select different types of web content to be searched and replaced. Let’s start with different post types. You can choose templates, forms, media and files, or pop-ups, and define which exact post — for example which form — you’d like to replace with another form. As an example, I’d like to replace my newsletter form with my new contact form.
If I now click on the button, nothing will happen yet. First you will get an overview of where your form is currently used on the website. As you can see, my newsletter form is placed on different pages and also in a pop-up. You can always check the links to see how it is included in the frontend.
This is one of the examples where it is included in a page, and here is the pop-up. If I proceed, both the pop-up and all the pages will be updated to show the contact form instead of the newsletter form. If necessary, I can also send the form directly to the trash. Please check all these details carefully before clicking on replace, as this action cannot be undone.
And that’s it. All four places now show the new contact form instead of the newsletter form. Here’s the example of the page, and also if I open the pop-up we can see the contact form instead of the newsletter form. This makes massive time savings possible. Just imagine having to replace an old logo that’s used in countless places on your website.
According to the same principle you can also search and replace taxonomies, such as categories or tags of different posts.
With the manual search and replace option you can even search for small details like URLs or particular wordings on your website. For example, by entering “greyd” in small letters I could easily change the spelling from lowercase to uppercase without having to edit the entire website individually.
For more videos and information, please visit our Helpcenter.