The Anchor block allows you to define a target on the page that can be used in links and navigation menus to scroll to a specific section. This is especially useful for long pages where users need to jump between sections easily.

When the block is added, a straightforward input field appears, letting you specify the desired anchor name. This anchor becomes part of the URL and should not contain spaces or special characters to ensure proper functionality.

If you want to use a Dynamic Tag as the anchor value, you can type # and search for the Dynamic Tag you want to add. If you are not sure what you’re looking for, you can add some text and click the Dynamic Tag icon in the block toolbar to show all Dynamic Tags available. Make sure to remove any additional text after selecting a Dynamic Tag.

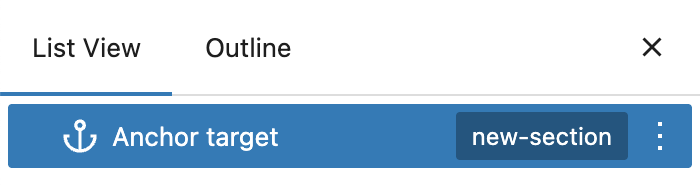
The defined anchor is not only visible in the content area but also appears in the List View, making it easier to identify and manage within the editor.
Settings
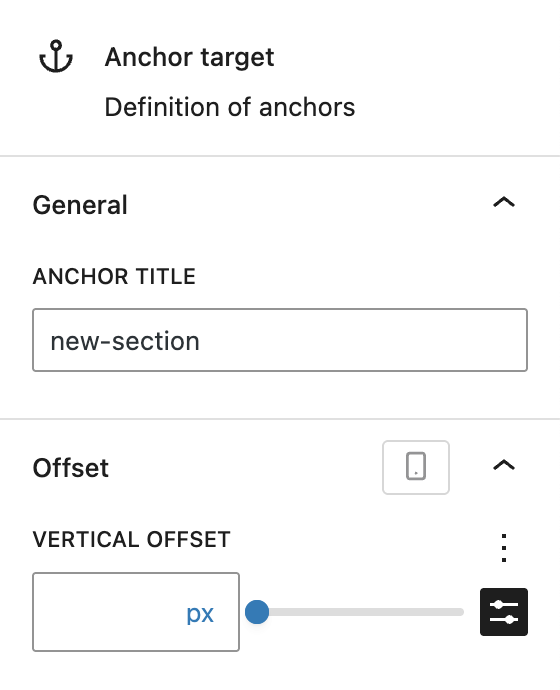
Under the General section of the block settings, the anchor title can be edited at any time.

To ensure compatibility with sticky headers or similar layouts, you can configure a vertical offset. This allows the anchor scroll position to be adjusted. Positive values move the target below its natural position, while negative values place it above. A pastel red line appears in the editor to indicate the exact scroll destination.
By default, you can add a pixel value directly in the input field or use the slider next to it. It’s also possible to use one of the spacing presets. For more information about the capabilities of the vertical offset setting, refer to the component documentation.
The vertical offset can also be adjusted per breakpoint if needed. For more information refer to the breakpoints documentation.