When you activate the Greyd Plugin for the first time, the Installer will launch automatically. You can also open the Installer manually at any time via the WordPress backend menu under Greyd Suite → Installer.
The Installer is designed to walk you through all the essential setup steps to ensure your Greyd Suite instance is fully operational and aligned with recommended defaults. At the end of the setup, it also suggests useful actions you can take next.
Welcome Screen

Upon launching, you are greeted by a welcome screen that briefly introduces you to the Greyd Suite and thanks you for using it.
On the right-hand side, you’ll see a progress panel showing the four steps of the setup process:
- Getting Started
- Install Tools
- Select Features
- Finish
In the top-left corner, there’s a link labeled Back to Dashboard, allowing you to exit the Installer at any time without completing it. While it is optional, we strongly recommend running through the Installer initially to ensure that the Greyd Suite is configured optimally for your needs.
To begin, click the Get Started button.
Step 1: Install Tools
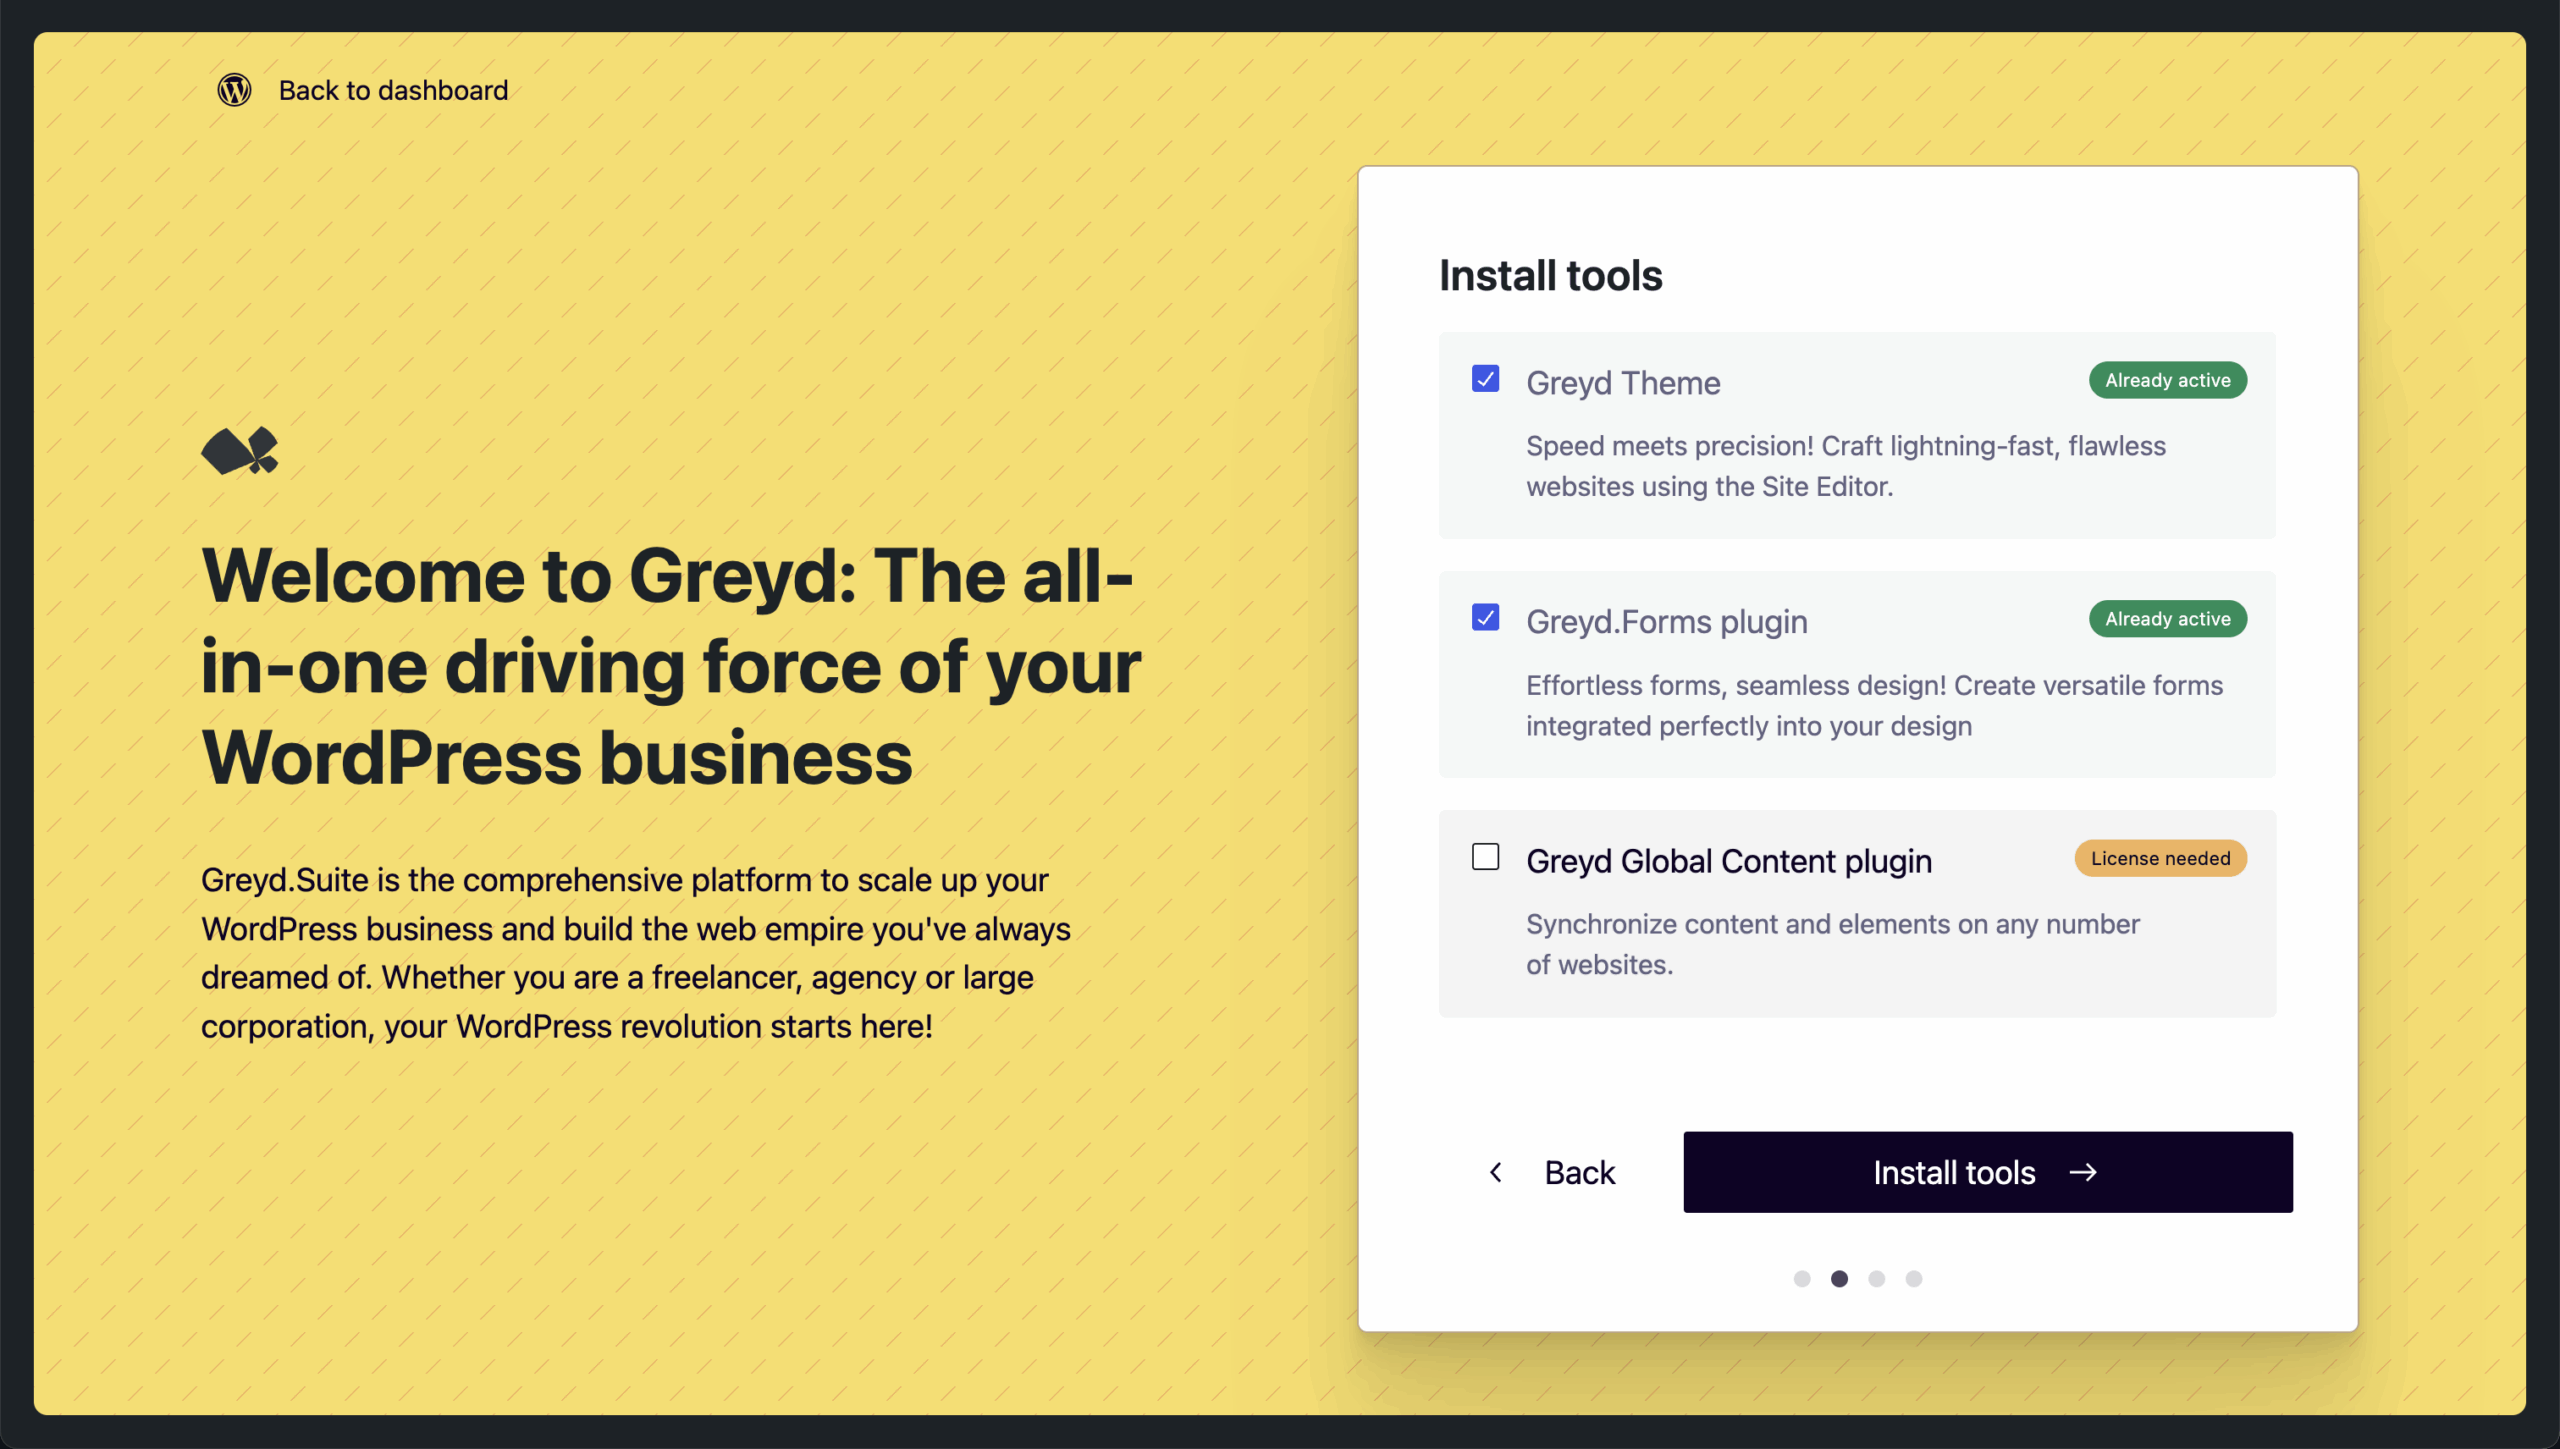
This is the first active step in the process, where you choose which tools to install. You are presented with the following options:
Greyd Theme
This is a lightweight Full Site Editing theme, available in the WordPress repository. While installation is optional, we recommend it to fully leverage the block-based editing features of WordPress. The theme allows complete control over all parts of your website via the Site Editor. It also comes with some extended features, which are covered in the [Greyd Theme documentation].
Greyd Forms Plugin
This is a native form builder plugin developed specifically for the Suite. It enables you to create powerful, flexible forms including support for mathematical calculations, conditional logic, and integrations with third-party services. This tool is optional but tightly integrated with the suite. See the [Greyd Forms documentation] for more details.
Greyd Global Content Plugin
This plugin is available only with a Growth license. It allows you to sync and reuse content across different websites without needing to export or import anything manually.
If you’re reopening the Installer, tools that are already active will display a chip labeled Already Active at the top-right of their card. These items will be preselected and cannot be deselected.
At the bottom of the page, you can use the Back button to return to the previous step, or click Install Tools to proceed. The installation process may take a few seconds.
After the process completes, a snackbar in the bottom-left corner will confirm:
- That your selected tools have been activated,
- That tools were already active, or
- That an error occurred.
If you encounter an error, open your browser’s developer console to inspect the issue. For example, your server environment might restrict plugin installation due to specific configuration or permission limitations.
Step 2: Select Features
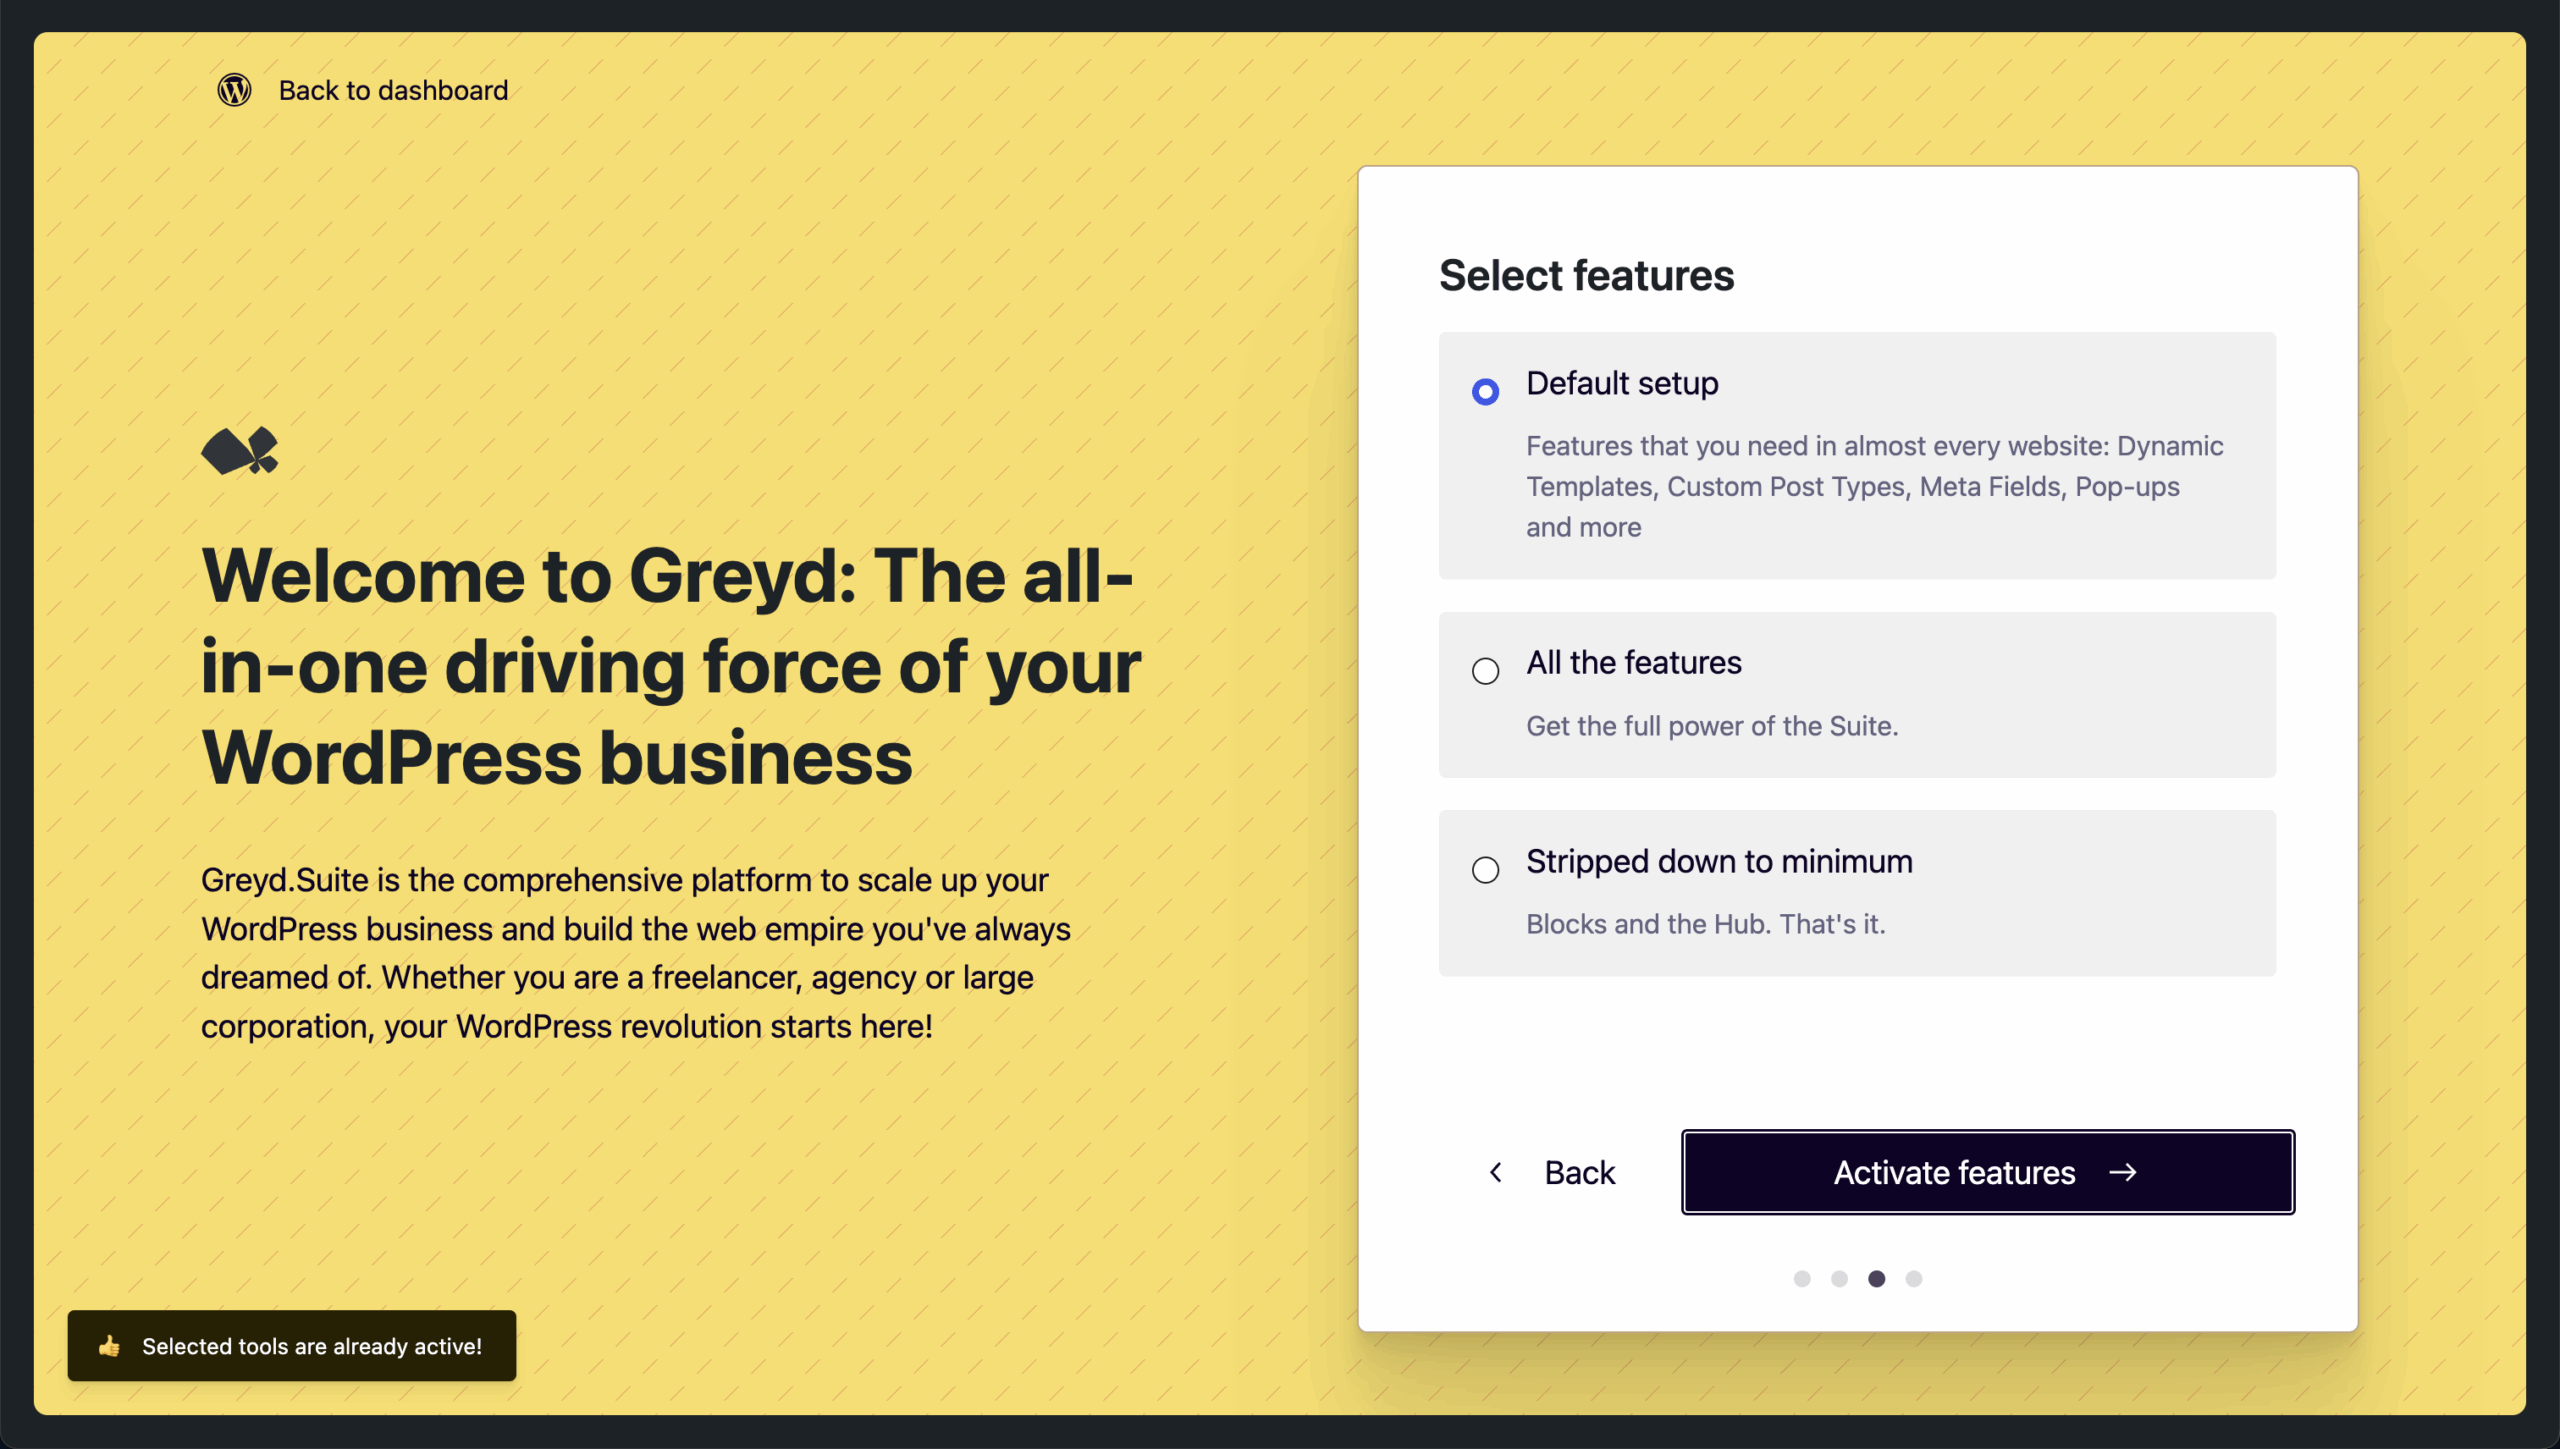
In this step, you decide which features of the Greyd Suite to enable. Each feature adds a specific functionality, and some of them load additional assets on the frontend. By disabling unneeded features, you can keep your site’s performance optimized.
You are presented with three setup options:
- Standard Setup (pre-selected): Activates a curated list of essential features, such as Dynamic Templates, Custom Post Types, Popups, and more.
- Activate All Features: Enables every available feature in the suite.
- Strip Down to Minimum: Activates only the minimal required components, such as the core blocks and the Greyd Hub.
If you prefer granular control, you can skip presets and manage features manually later via Greyd Suite > Features in the backend. This section allows toggling features on or off at any time.
After making your selection, click Activate Features. Once again, a snackbar will confirm success or alert you to any issues. If there is a problem, consult the browser console for debugging.
Step 3: Finish & Follow-Up Actions
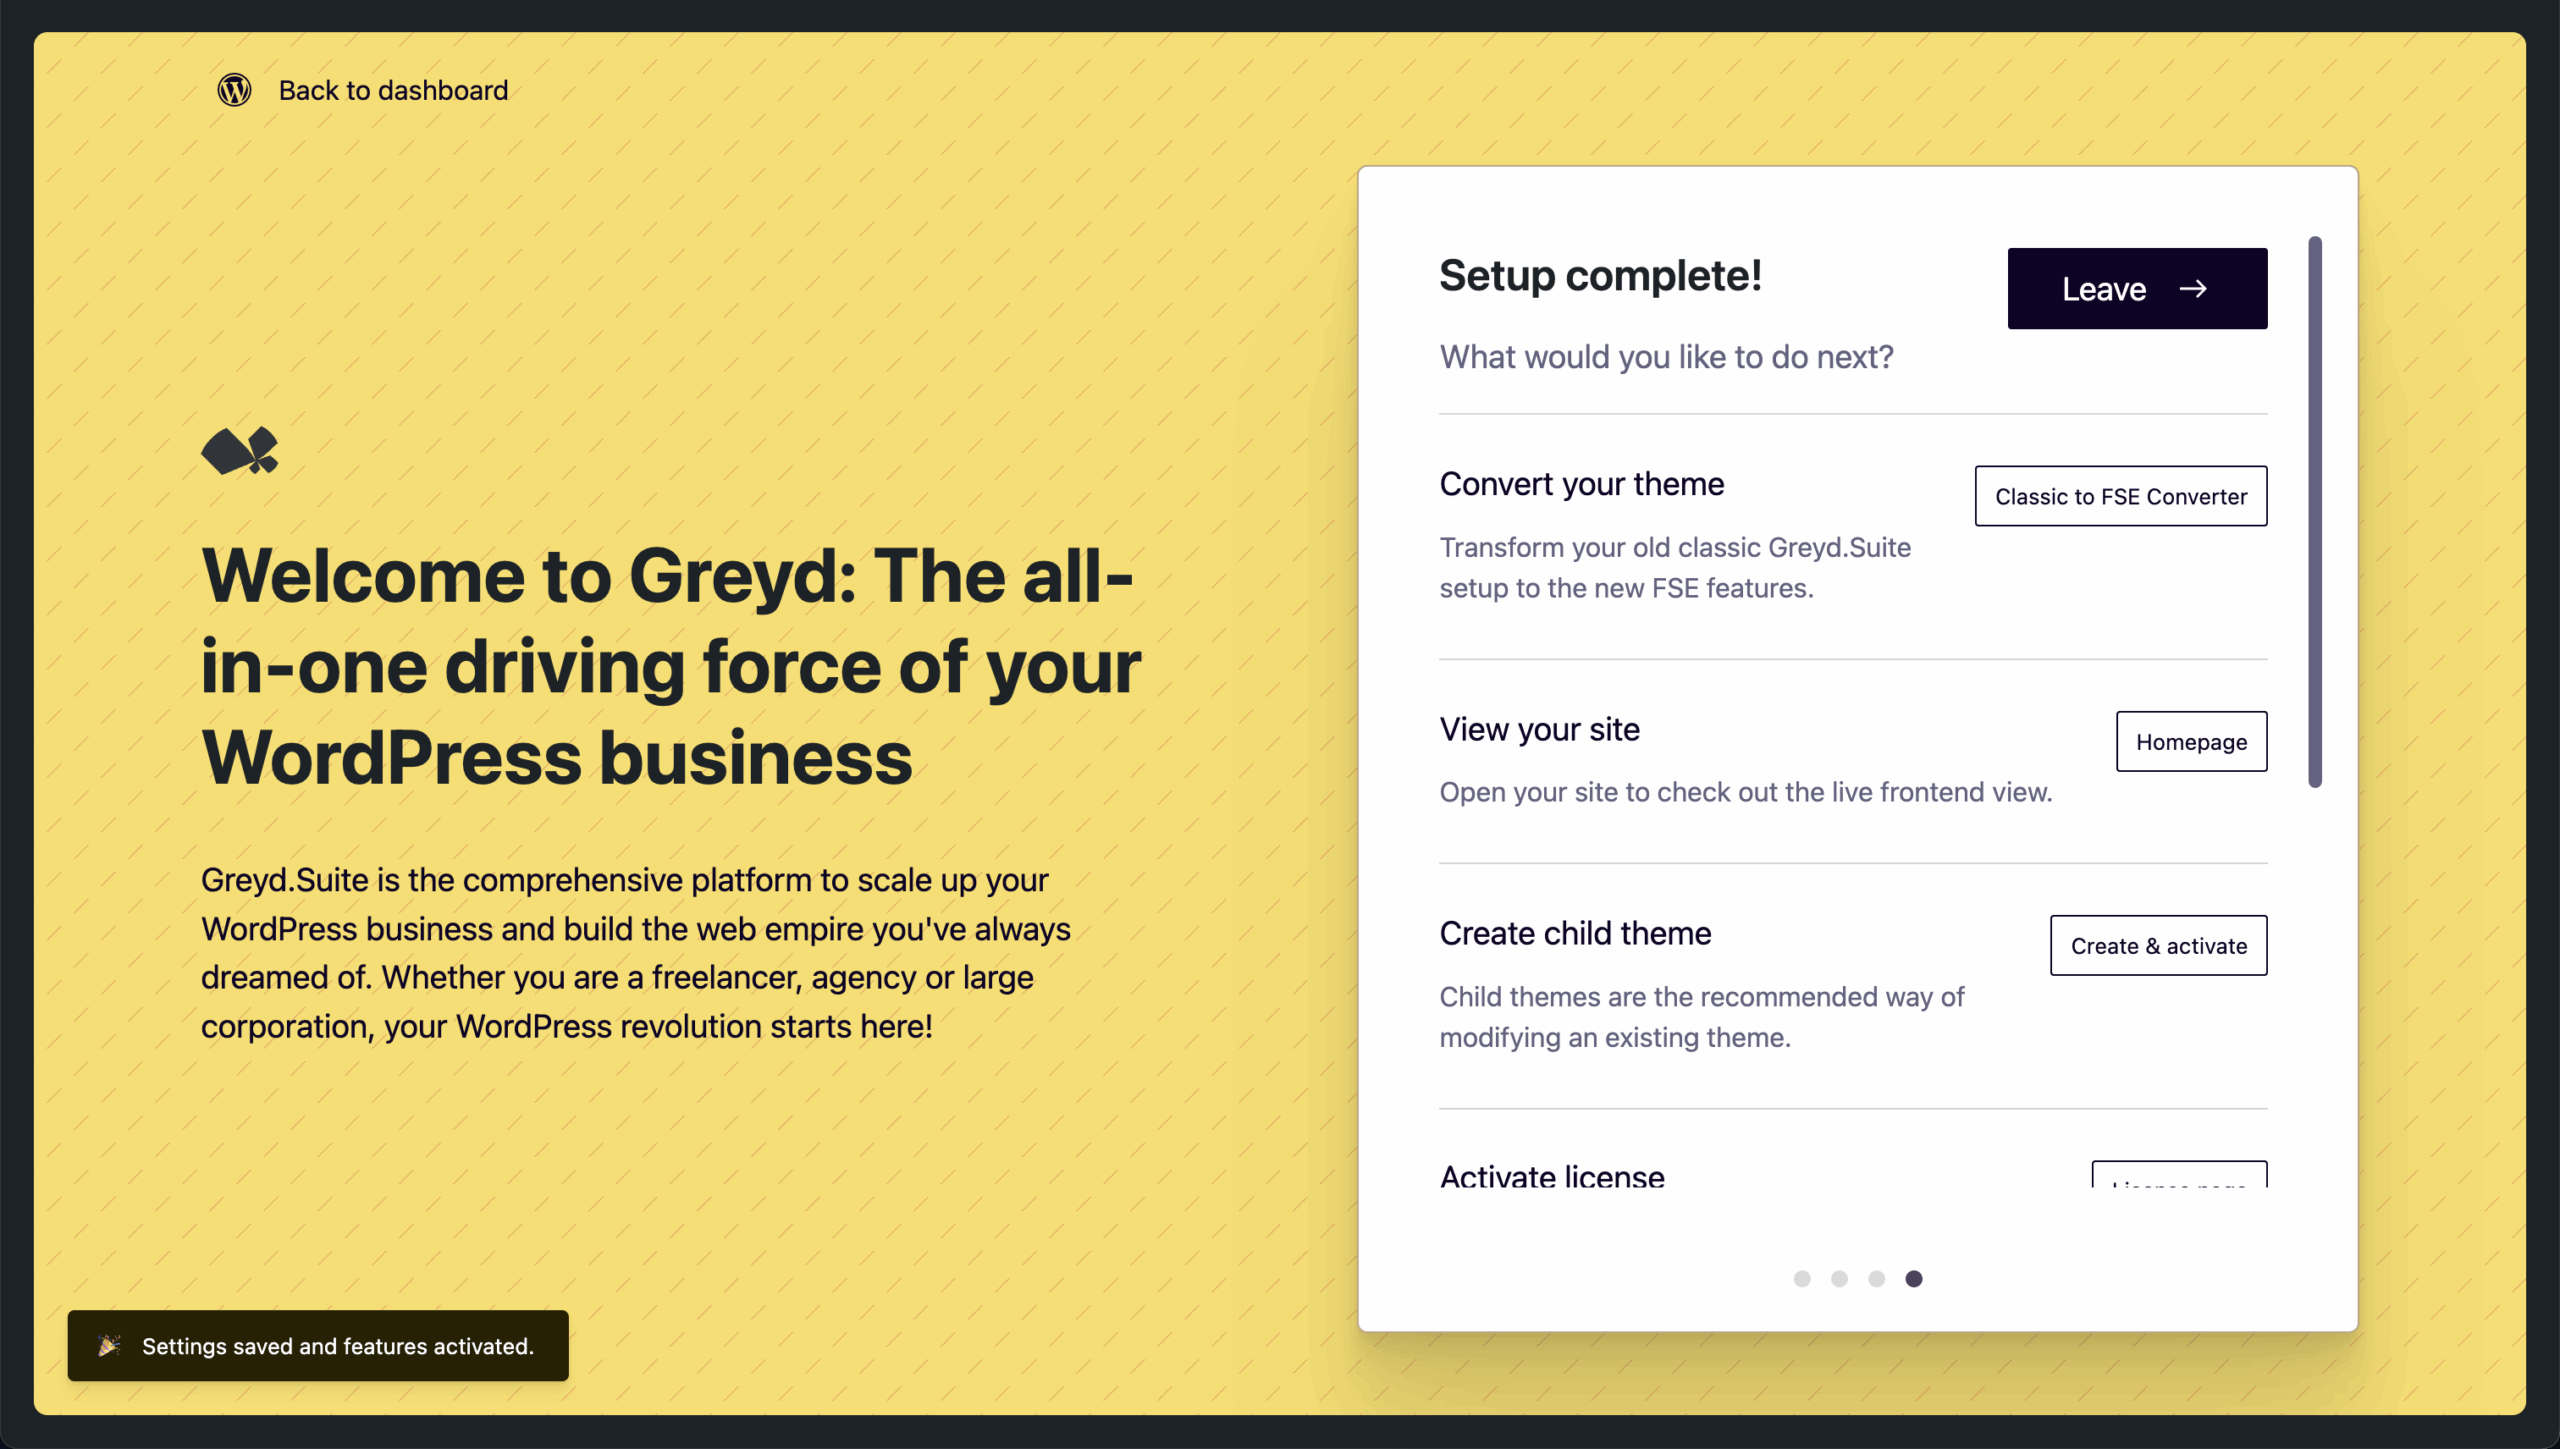
Once features are activated, the Installer will take you to the final screen. A small animation confirms that your setup is complete, and you’re presented with several follow-up suggestions:
Exit the Installer
You can leave the Installer using one of the following options:
- Click Leave at the top
- Use your browser’s Back button
- Click Back to Dashboard
- Close the browser tab
Preview Your Site
Take a look at your site to see how things have visually changed — especially if you activated the Greyd Theme.
Install a Child Theme
Install and activate a child theme that’s compatible with the Greyd Theme. This is useful for customizing theme code while preserving update safety.
Activate Your License
If you’ve purchased a license through our webshop, go to Greyd Suite → License in the backend to activate it.
Visit the Help Center
Explore tutorials, documentation, and further information about the Greyd Suite. (You’re likely reading this from the Help Center already.)
Start Editing
Open the Site Editor to manage your templates (Home, Header, Footer, etc.) and Global Styles such as fonts and colors. For more information, refer to the documentation on Global Styles or the Site Editor.


