The User Management feature adds an interface to manage users, roles, login links, and system emails in WordPress. It builds on the existing WordPress core mechanisms for user, role, and capability management and extends them with an enhanced UI and additional options. This feature is only available with the Growth and Scale subscriptions.
Once activated via Greyd.Suite → Features, you’ll find it under Greyd.Suite → User Management. The interface is divided into four tabs: Users, Roles, Links, and Emails.
Users
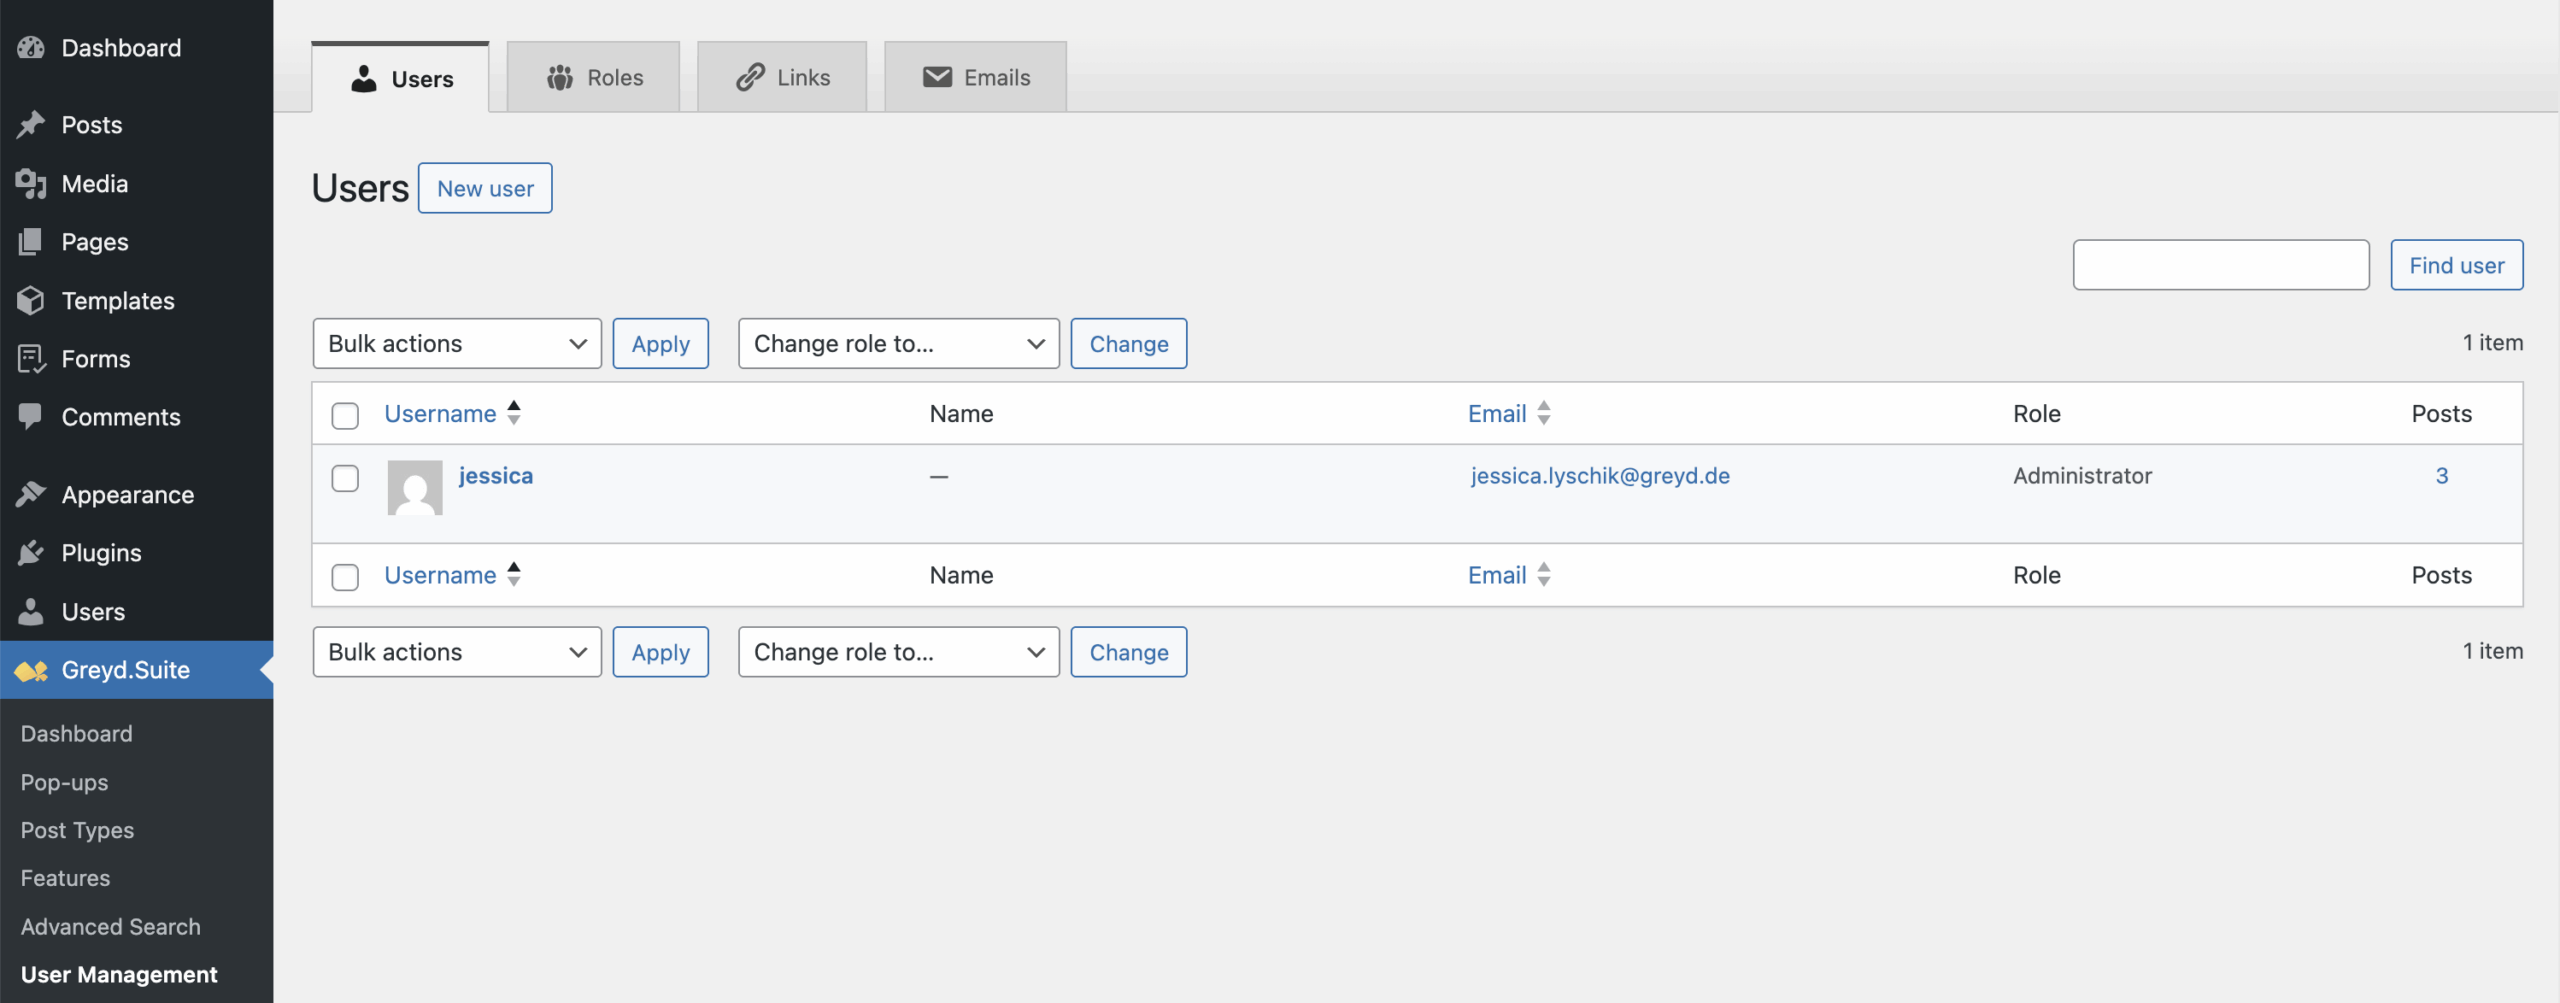
This tab displays a list of all users on the current site. You can create, edit, and delete users as needed. The interface mirrors the standard WordPress Users page and retains its core functionality.
Roles
Roles are managed per site. In multisite installations, role management is only available on individual subsites. The tab shows all available user roles, including the default roles: Super Admin (only on multisite installations), Administrator, Editor, Author, Contributor, and Subscriber. A custom role called Not verified is used when the Registration feature is active.
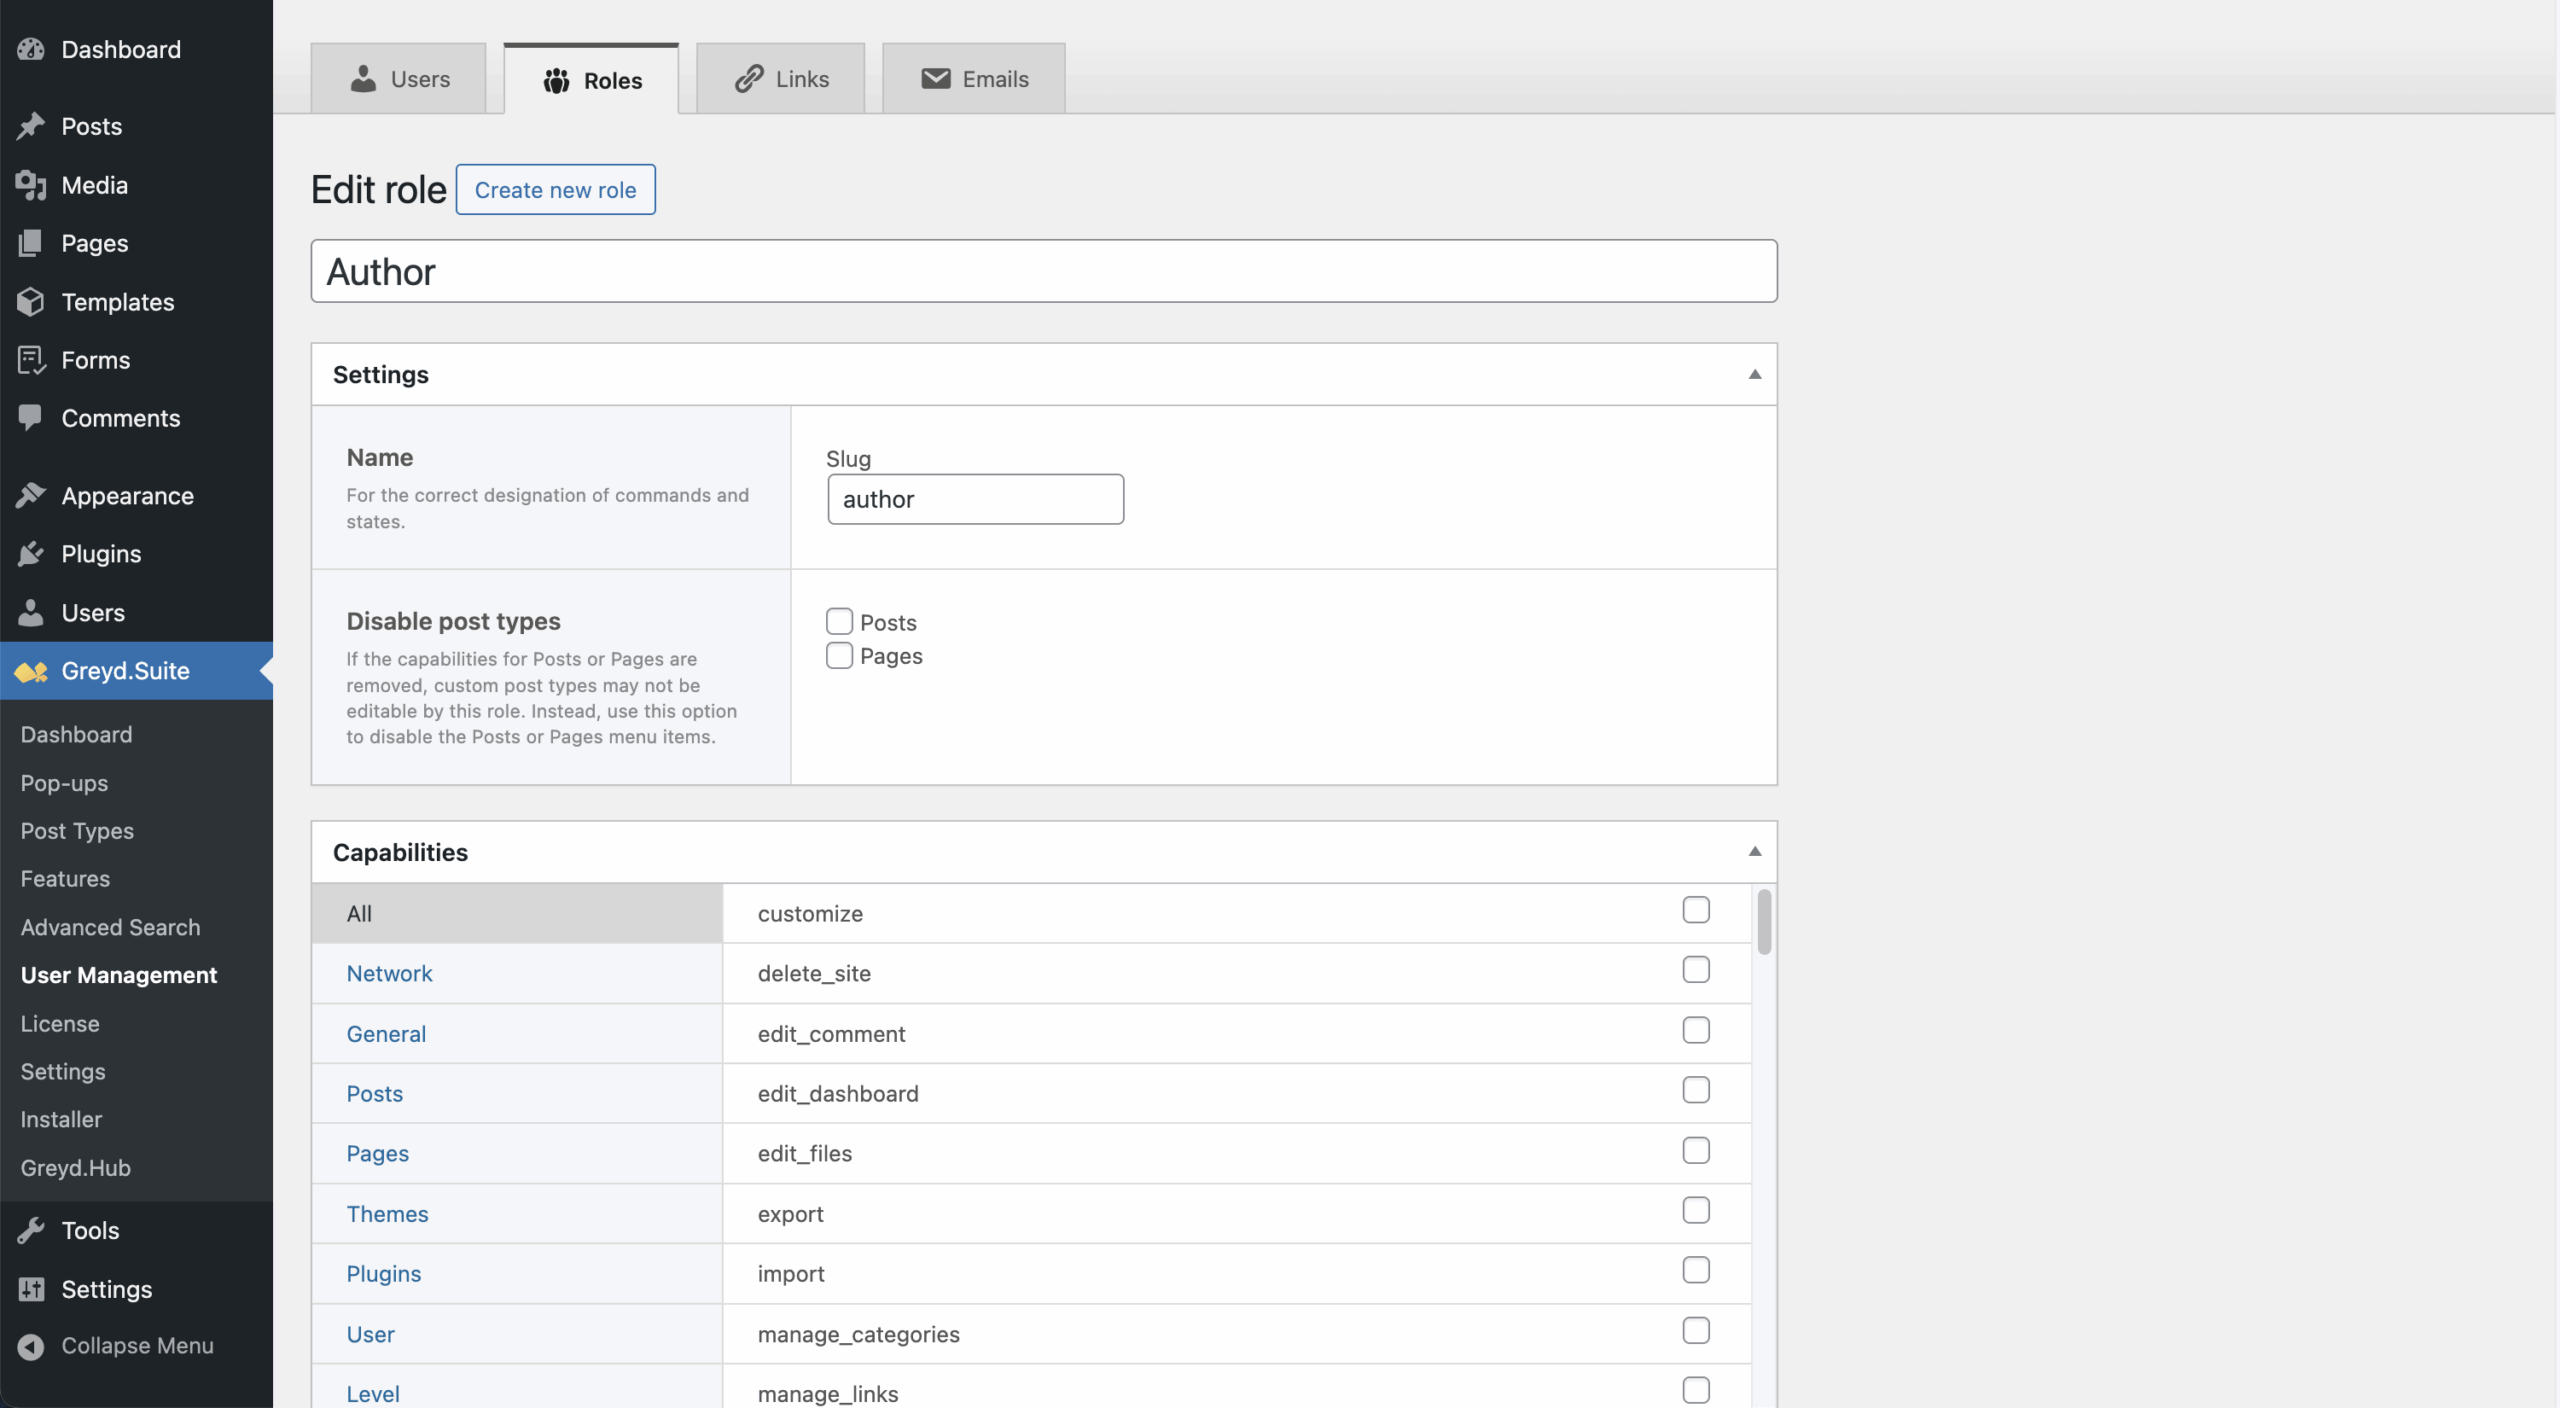
You can create new roles or edit existing ones (except Super Admin, which can only be viewed). Each role can be customized in detail through a role editing form. In this form, the following settings are available:
- Title and Settings: Define the role title (shown in admin) and slug (used internally). Under “Disable post types”, you can hide post/page menus without affecting the existing capabilities.
- Capabilities: Enable/disable specific actions via grouped checkboxes. Add custom capabilities manually, which require corresponding code to take effect. WordPress capabilities documentation
- Post Type Capabilities: Define access for post types such as Popups, Post Types, Dynamic Templates, Forms (if active), and custom types. Post type capabilities documentation
- Block Capabilities: Restrict access to editor blocks. Restricted blocks remain in content but can’t be added.
- Meta Fields: Define custom profile fields (label, field type, placeholder, default, required, etc.). Copy/paste between roles via modal with import/export logic.
Links
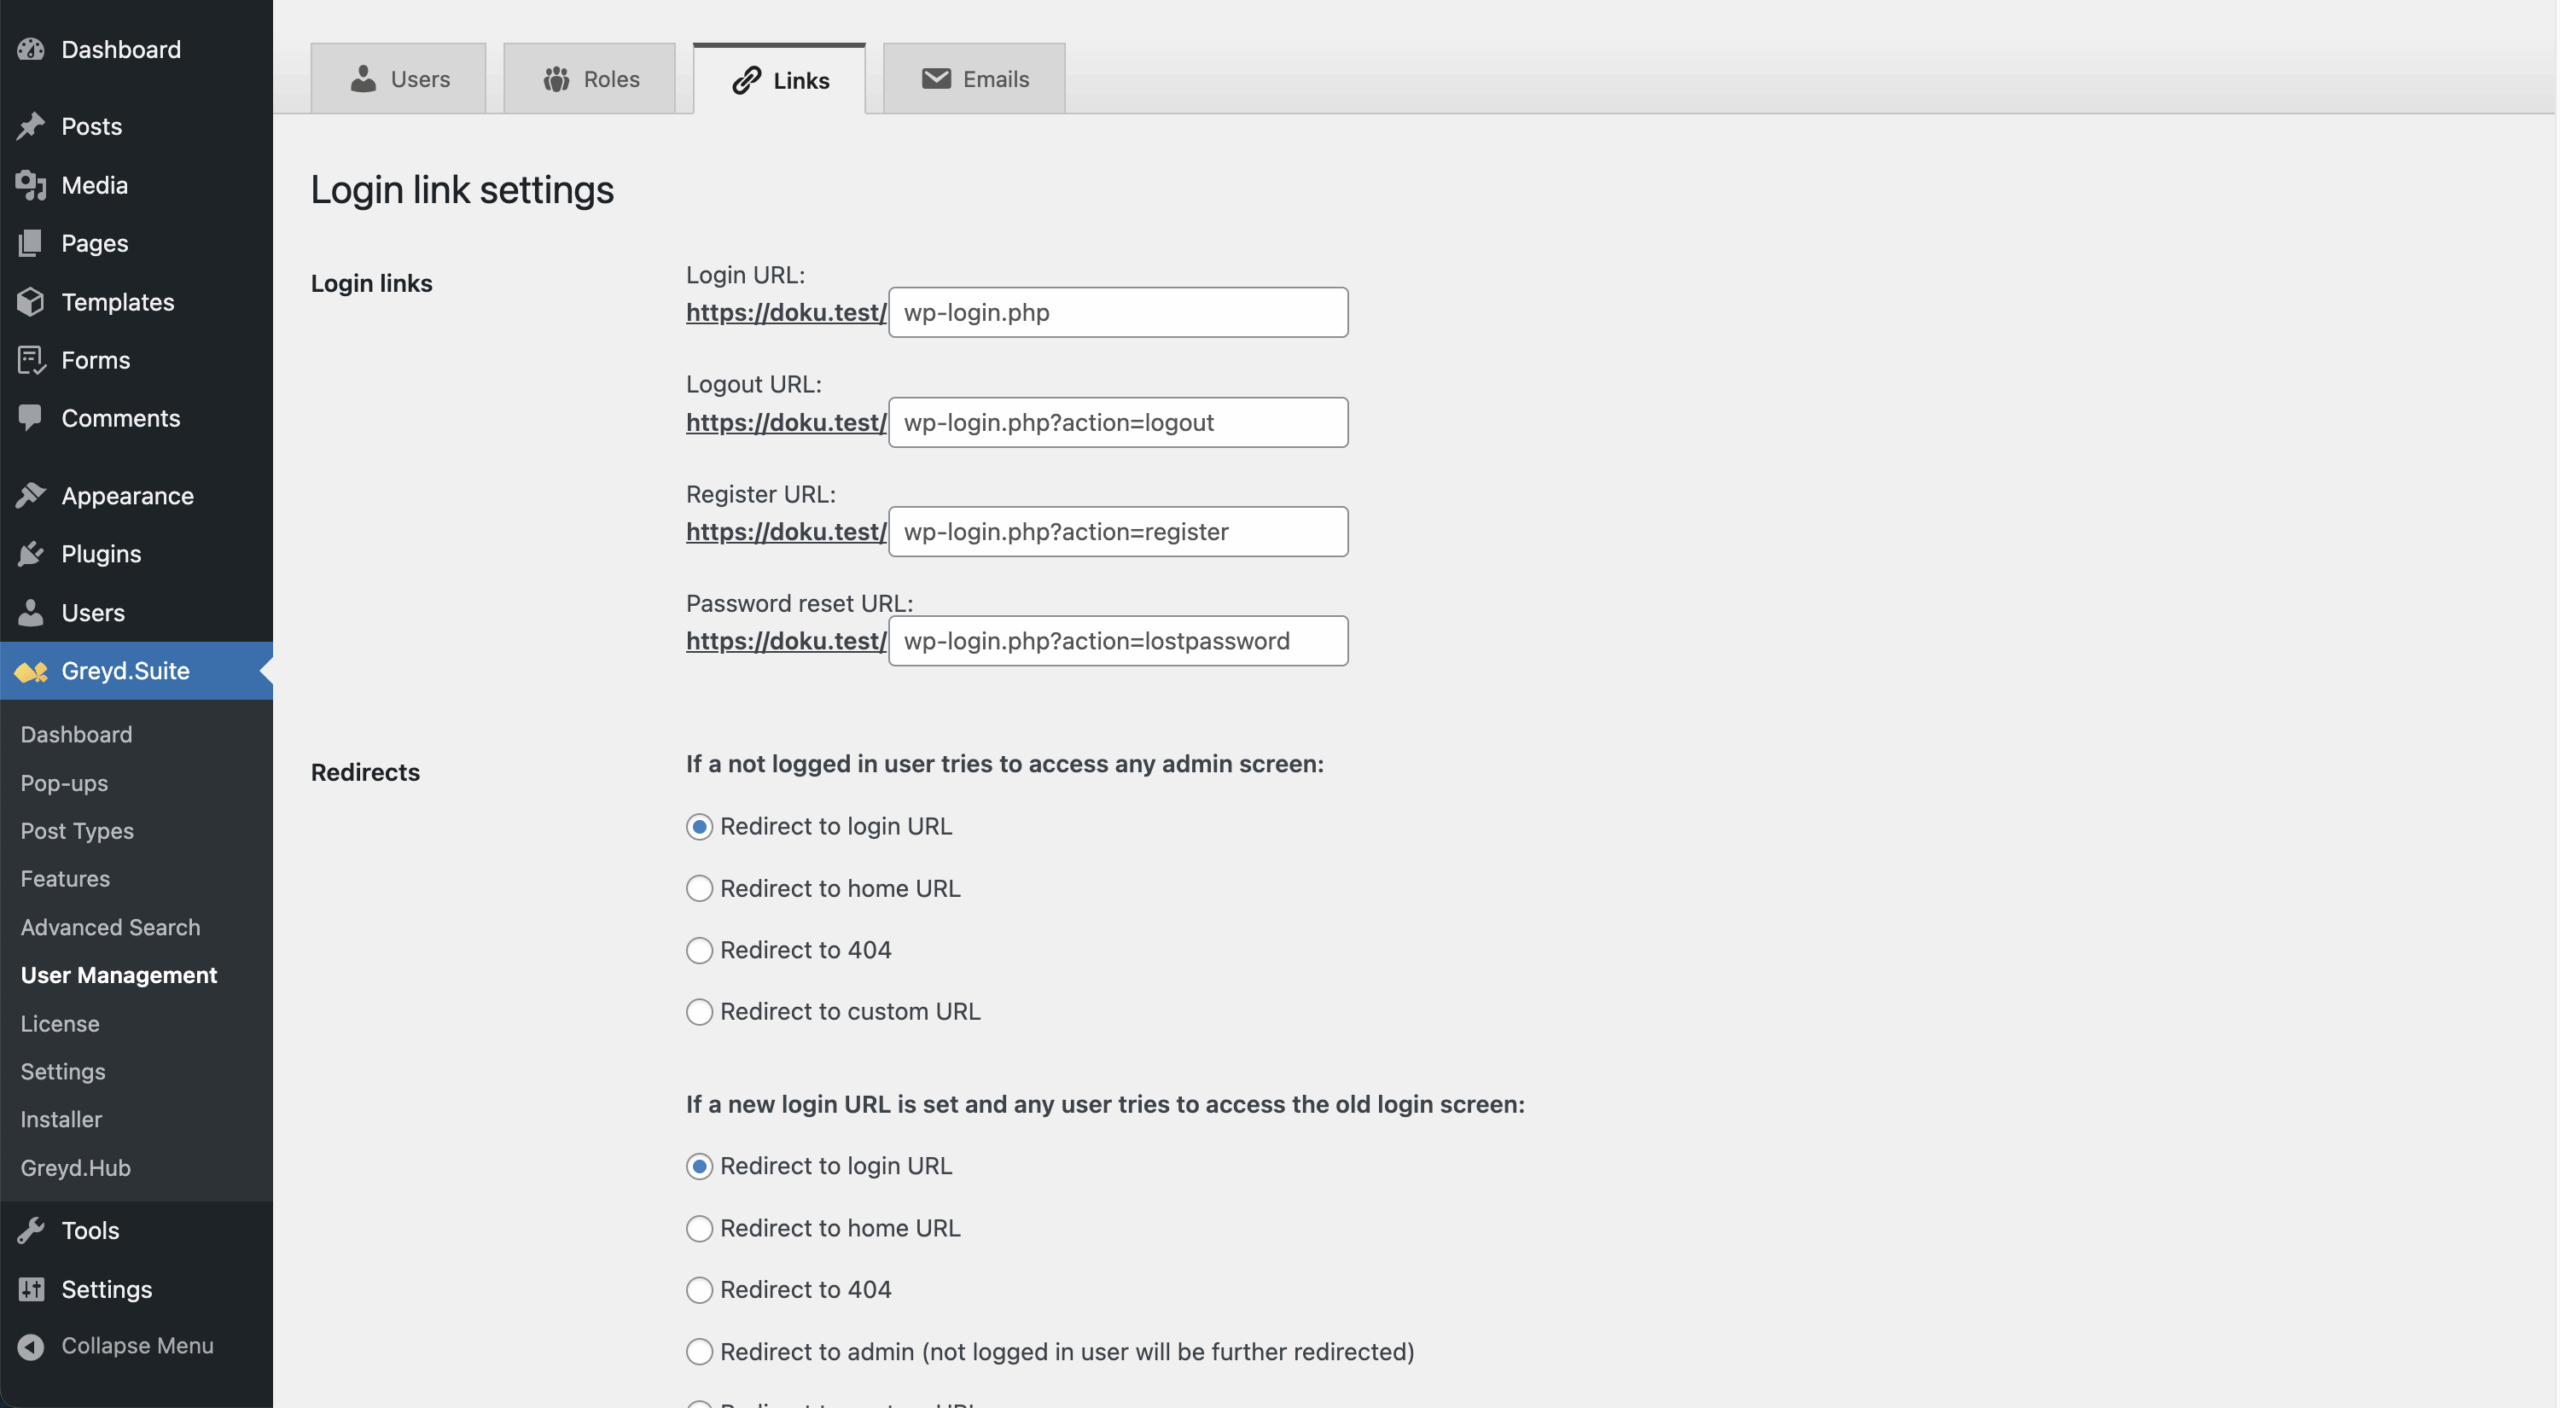
In this tab you can manage login-related URLs and redirects. You can define custom URLs for login, logout, registration, and password reset. Defaults follow WordPress behavior but can be overridden per site. If values are set in Network Admin, a notice is shown.
Redirects occur when a non-logged-in user tries to access admin pages or an outdated login URL is used. Redirect targets can be chosen from lists or entered manually. If WPS Hide Login is active, login link settings are disabled and a message appears.
Emails
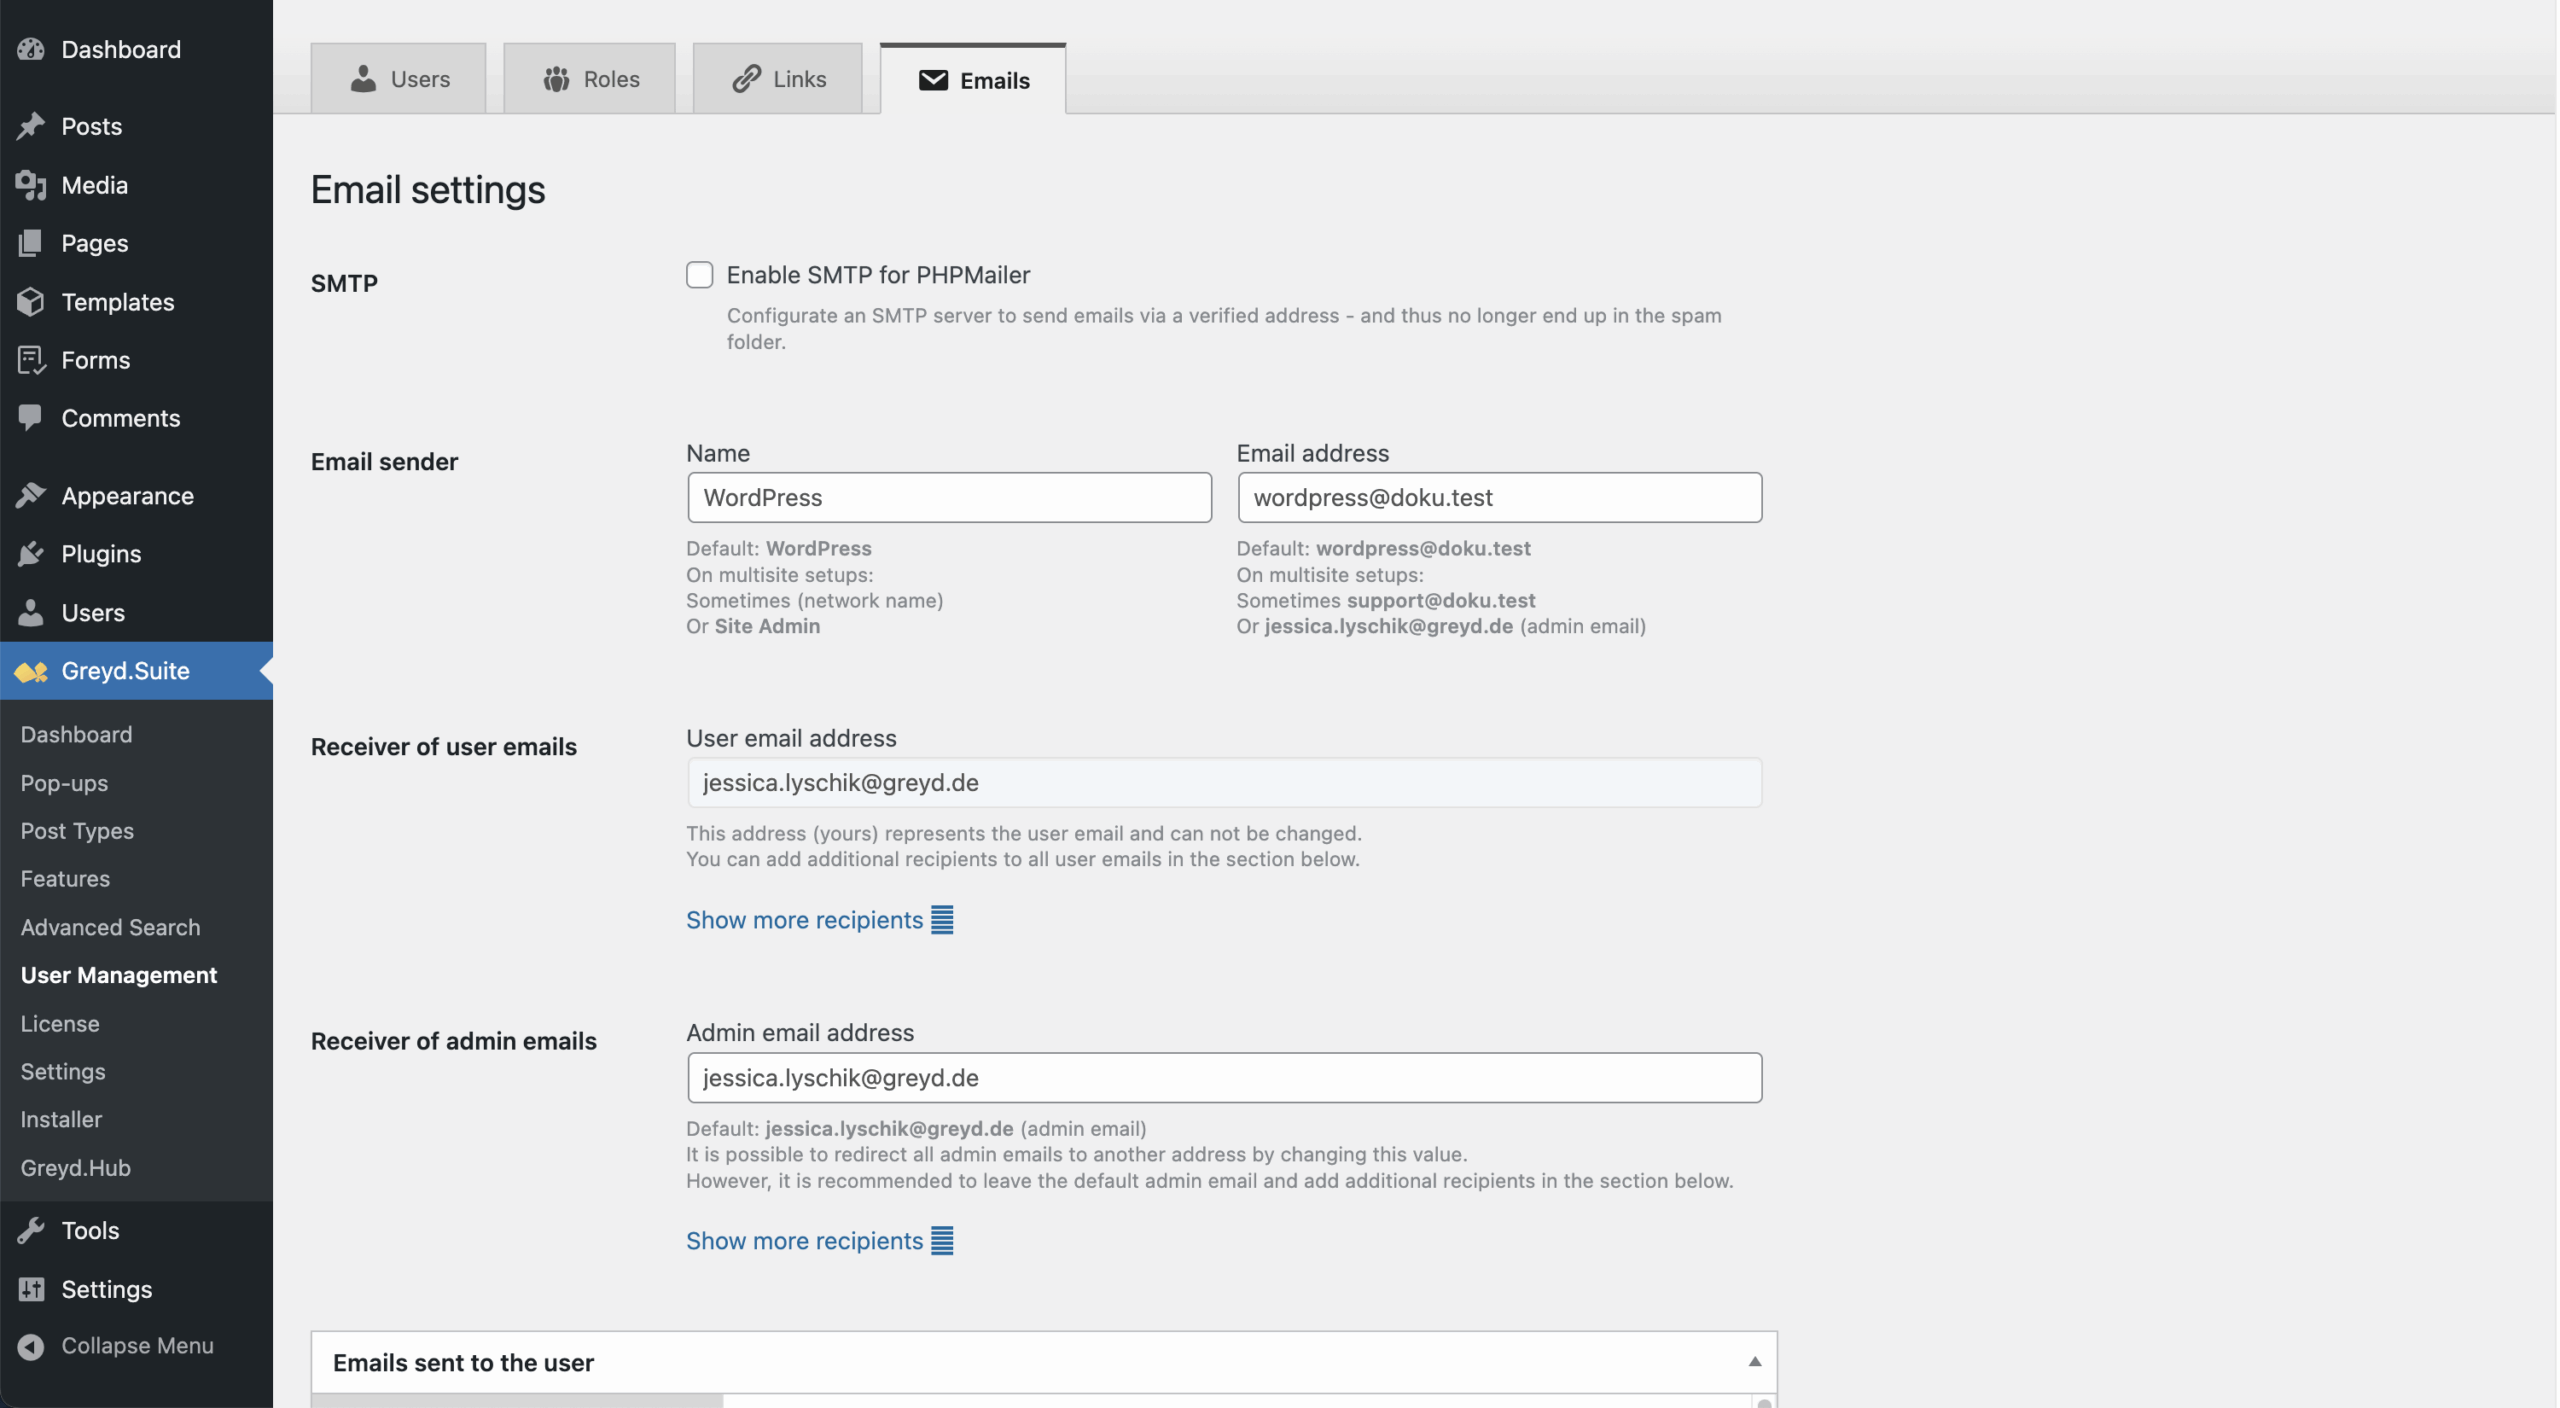
This tab manages email delivery and default addresses for user and admin notifications.
- SMTP: Define server, port, encryption, and optional login credentials. Mirrors the “SMTP Extension” feature.
- Email Sender: Customize sender name and address for outgoing mails.
- User Email Recipients: Add CC/BCC to fixed user recipient by clicking on “Show more recipients” to show input fields for CC and BCC.
- Admin Email Recipients: Change or extend default admin recipients. Add CC/BCC if needed, by clicking on “Show more recipients”.
- Email Templates & Testing: Only limited template editing is possible. Test email functionality is still unreliable.
Additional Features
- Registration: Extends Forms with modes for user registration and data updates on the frontend. Adds the Not verified role (see Roles section above) that serves until a new user is manually verified. See the Greyd Forms documentation for more details.
- Login Form: Adds a custom block to show a frontend login.
- Dynamic Tags: Adds tags like First name, Last name, and user-defined meta fields. See Dynamic Tags documentation.
- Restrict Access: Adds role-based access control to any post or page via metabox.
Video
Hi, this is Sandra from GREYD. Today I’d like to show you how to use the User Management in GREYD.SUITE with which you can create custom user roles with very specific custom capabilities and for example have content on your website that is only visible and/or editable by very specific user roles.
So let’s have a look. We’re here in the GREYD.SUITE dashboard and open the tab “user management”. At first you will see an overview of all users existing on the website you’re currently on including their email, user role and the number of posts created. You can change their roles here and when you click on “new user”, you will be sent to the default WordPress interface to create a new user.
Here under “roles” you can see all user roles currently existing on your page. You can edit them and you can also create new user roles and will be able to define very individually what that specific user role should have capabilities for, what they can do and can’t do. For example you could have an SEO writer that can do nothing more than edit and update posts on your website. You can create a user role for customers with which they can edit the content of their website, but cannot mess with the design since you prevent them for example from editing templates in the back end. And if you don’t want to go through all these very detailed settings each time individually, you can also copy the capabilities from an existing user role and use that as a template.
Down here you can also create meta fields, like for example the company, that you can then later query for example in the user registration form.
Here under “links” you can edit the login links, logout links, registration links and also the links for the password reset. That way you can for example hide the login page of your website to make it less vulnerable. And you can also define redirects for people who try to access an admin screen or an old screen that’s no longer available. You can redirect them to a 404 page, any custom URL, the home page or whatever.
And last but not least here are the emails. You can activate the SMTP function natively integrated in GREYD.SUITE that enables you to send your WordPress emails via a verified server, so that they don’t end up in the spam folder. Therefore just enter the respective data from the email provider and define whether and how your emails should be encrypted. You can also edit the sender of your email and also add additional users and/or people who should receive admin and/or user emails in CC or BCC. Down here you can even edit each email that is sent from WordPress individually including preview.
As you can see here, for both user and admin emails, there are some emails that are grayed out. This is because they are only editable via the network administration. That’s why we are now going to have a look at the user management from a network-wide perspective as well.
So, in general the settings here are pretty much the same. You have an overview of all your users, but this time all users of the entire installation including information on which websites they have access to and when they’ve been created. The user roles can be defined for each of your websites individually. You can again edit the links on your website, but this time for the entire installation. And as we’ve just discussed, there are some emails that you can only edit in the network administration.
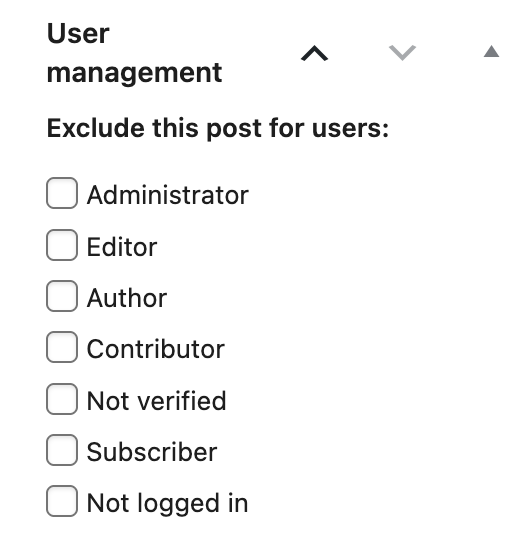
So much to the settings for the user management in general. What can you do now with your custom user roles? Well, for once there’s gated content, thus content on your website that is only accessible by certain user groups. So for each page, post, form, popup etc. on your website you will find a setting here on the right that makes it possible to exclude this particular post for certain user roles. For example I do not want any SEO writer to be able to access this particular login page, so I enable this checkbox here. Each time an SEO writer is now trying to access that login page in the frontend, he or she will be shown the 404 page instead.
After the same principle you can also vary only sections within a page depending on who is visiting your website. We have a feature that’s called Dynamic Content. Dynamic Content makes it possible to display different contents automatically depending for example on the user role. So this entire section here for example is only visible if someone with the user role “unknown” — which means not logged in — is visiting my page, whereas this section here is only shown to those that are logged in. And the same I can do with for example popups. I can set them up in a way that they are only triggered if certain user roles including my custom user roles are visiting my website.
If you want to learn more about Dynamic Content, gated content or how to set up such user registration and login/logout forms and pages, then please have a look at our Helpcenter where we have dedicated tutorials on all of that.
For more videos and information, please visit our Helpcenter.