
Form submissions in Greyd Forms can be mapped to WordPress posts, either creating a new post or updating an existing one. This is configured through a dedicated Post Interface available for every form, covering permissions, post type selection, field mapping, and the logic that determines whether a submission results in a new post or an update. This feature is only available with the Growth and Scale subscriptions.
The Post Interface is an additional configuration option for Greyd Forms that allows data submitted through a form to create a new post or update an existing one. It complements the general form Interface described in the Forms → Interfaces documentation and is configured separately for each form.
Interface Setup
The interface configuration for creating or updating posts is located in the Metabox settings under Interfaces for each individual form. A form must have at least one field in order for the Metabox to appear.
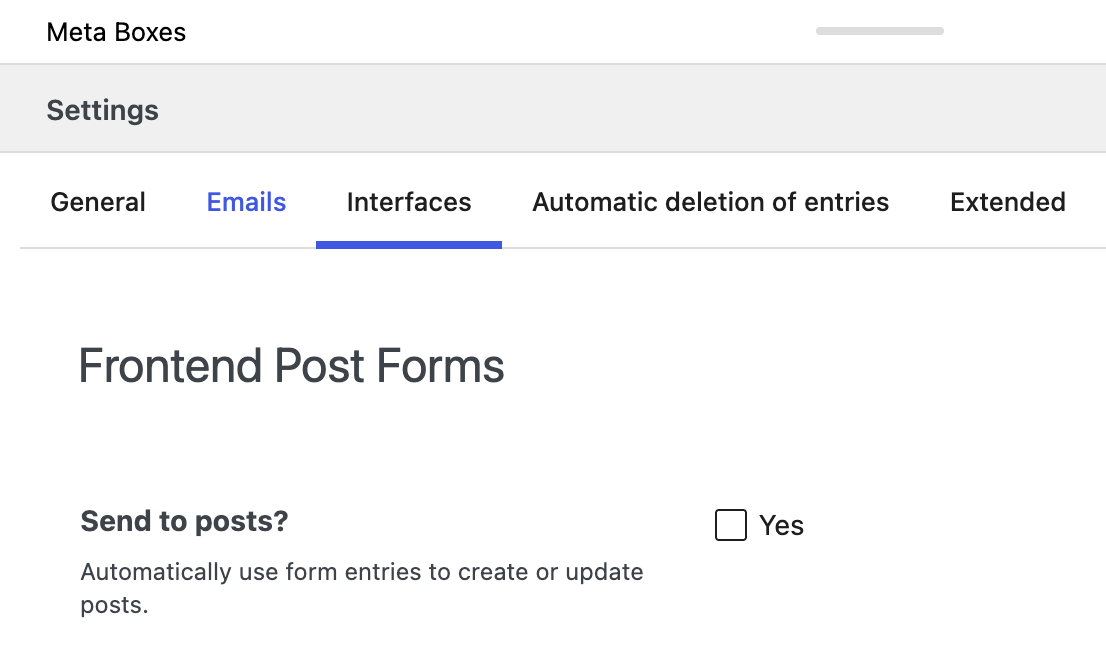
To begin, enable the “Send to posts?” checkbox. This reveals the additional settings required to complete the setup.
Permission
The permission setting determines which users are allowed to trigger the creation or update of posts through this form and should be treated as an important security setting. Permission should only be granted to known users or a defined and trusted group of users. Granting this ability to an uncontrolled group of users allows the content of a page to be manipulated in unpredictable and potentially harmful ways. An incorrectly configured permission can open attack vectors for malicious actors and may lead to a full compromise of the website.
The Permission dropdown shows all available user roles that exist in the WordPress installation.
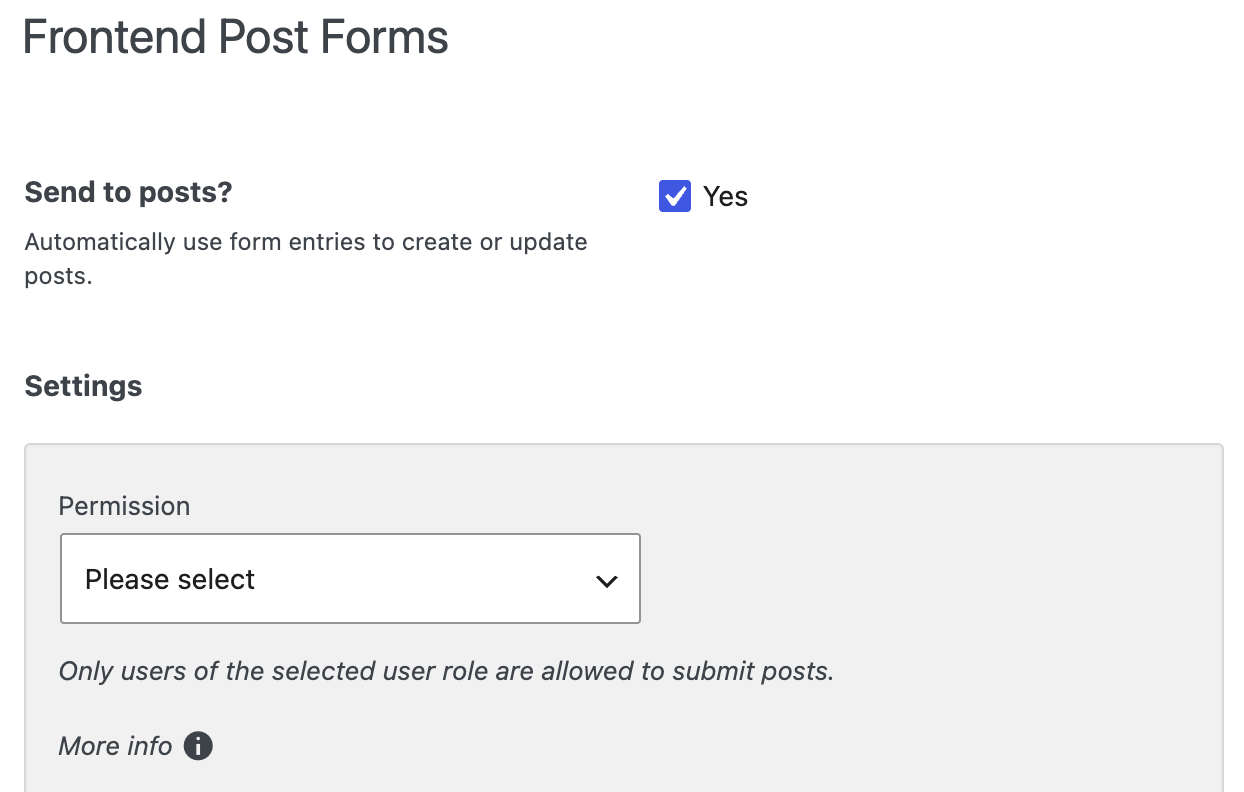
If “everybody” or “logged out users” is selected as the permission, a security warning is displayed.
The basic permission is set by user role. Additional, more granular verification can be implemented using the filter greyd_forms_posts_interface_permission, which you can find in the Greyd Forms Filter Snippets documentation.
If no permission is set, the interface remains inactive: no further settings can be configured, and form submissions will not create or update any posts.
Post type of new post
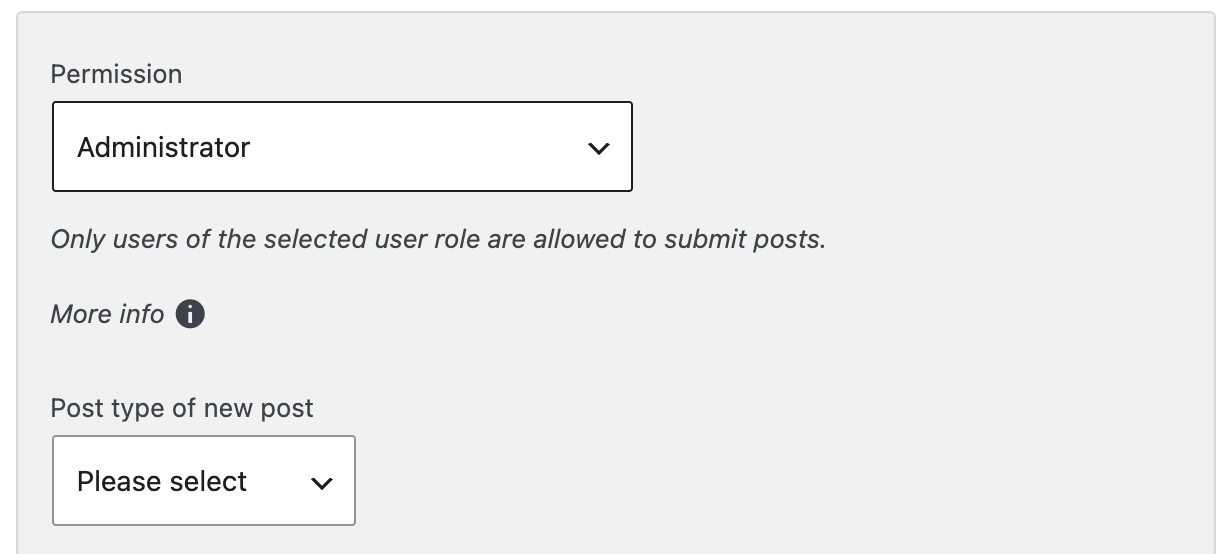
A post type must be selected to continue the setup. All public post types are available for selection, including Post, Page, and any custom post types.
Alternatively, “Synced post type” can be selected, which displays an input field for entering the desired name of a new post type. A custom post type with all form fields mapped to dynamic meta fields is created automatically. Basic settings of this post type, such as standard features and taxonomies, can be adjusted afterward in Greyd.Suite → Post Types. The title of the post type should not be changed.
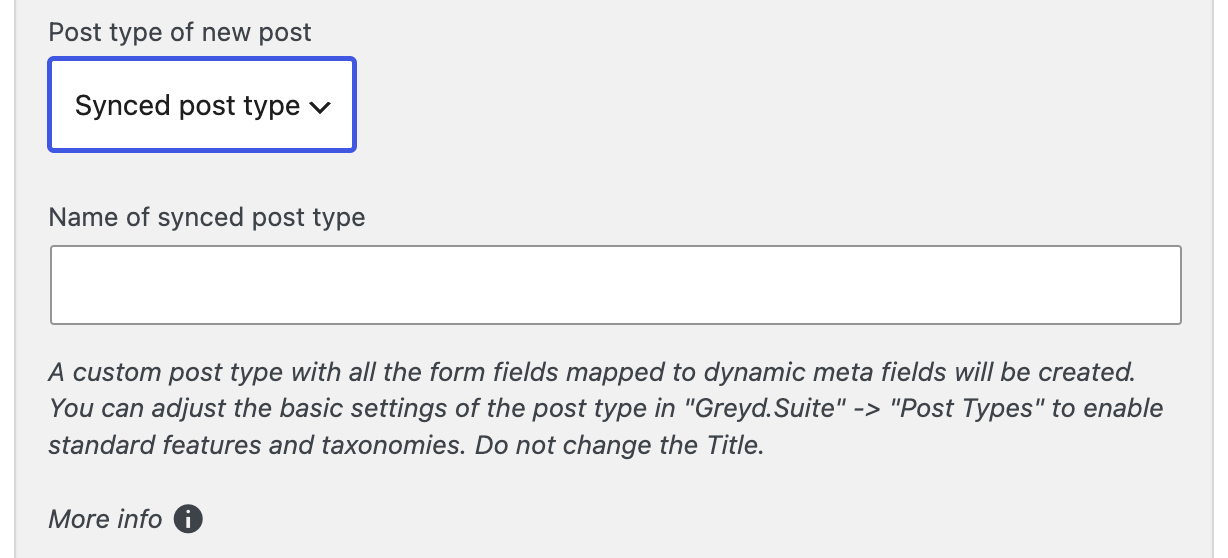
Changing the name or title of a synced post type creates a new post type. The previous post type and its associated posts continue to exist but are no longer synced with the form. Dynamic meta fields are created and updated automatically: adding a form field creates a corresponding meta field, while deleting a form field after the synced post type has been created does not remove the associated meta field, which remains persistent with the post type. As a result, additional dynamic meta fields can also be added manually by editing the synced post type.
It is recommended to complete and save the form, including adding all input fields in the editor, before setting up the interface. This ensures that all fields are synced correctly.
Enable Full Sync of Changed Form Fields

When a synced post type is selected, the option to fully sync changed form fields becomes available. Enabling this option prevents the dynamic meta fields of the synced post type from being adjusted manually. Any changes made are reset the next time the form is saved, and fields that were removed from the form are also removed from the post type.
Status of New Post

A new or updated post can be created either as a draft or published directly. If “published” is selected, a warning is displayed, noting that this can present a security risk and recommending that inputs be validated and a review process be considered, for example by creating posts as drafts and publishing them manually.
Allow post editing
By default, a form submission always creates a new post using the configured post type. To update an existing post instead, enable the Allow post editing toggle in the interface settings.
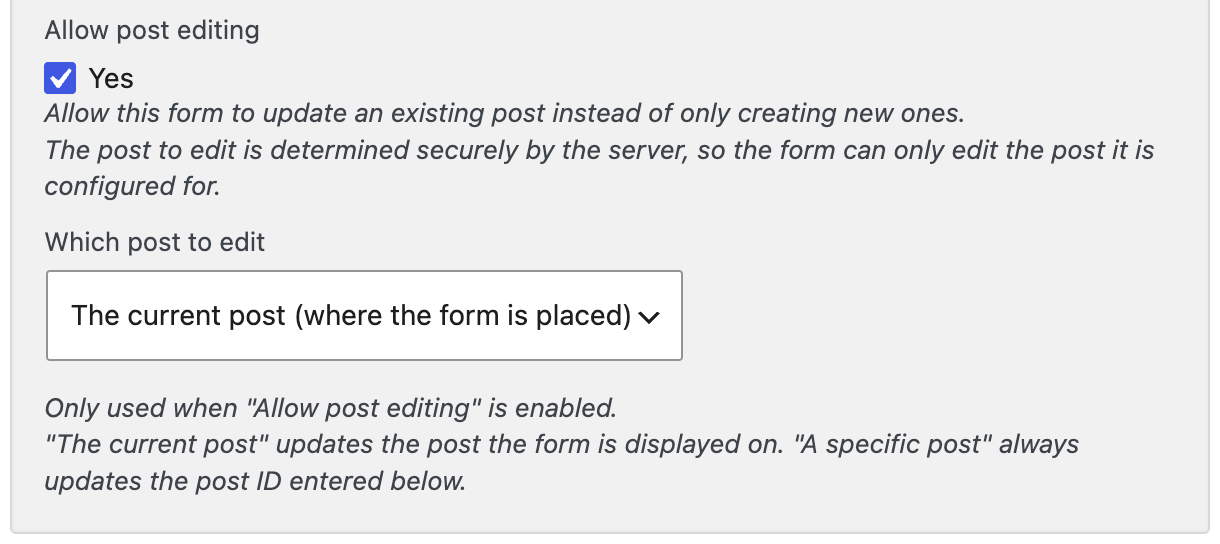
When enabled, the target post is determined entirely by the server — never from the submitted form data — and two hidden fields are automatically added to the form: the post ID to update and a signed, time-limited token that ties the submission to that specific post and browser. No manual field mapping is required for this to work.
The Which post to edit setting determines which post is updated:
- The current post (where the form is placed): updates the post the form is displayed on. This is the default.
- A specific post: always updates the post ID entered in the Specific Post ID field, which appears once this option is selected.
Because the target post is resolved and signed by the server rather than read from the submission, it cannot be changed or forged through the form itself. For security reasons, this connection expires after a set time (one day by default). If a form is submitted after the page has been open too long, the token has expired and the submission is rejected with a message asking the user to reload the page. If the browser blocks cookies, the submission is rejected with a separate message asking the user to enable cookies.
Fields Mapping
Fields mapping determines which form fields are used to create or update a post. Each form input field can be mapped to a post property, which may be a standard post field, a taxonomy, or a dynamic meta field. Currently, only meta fields created with Greyd post types can be edited.
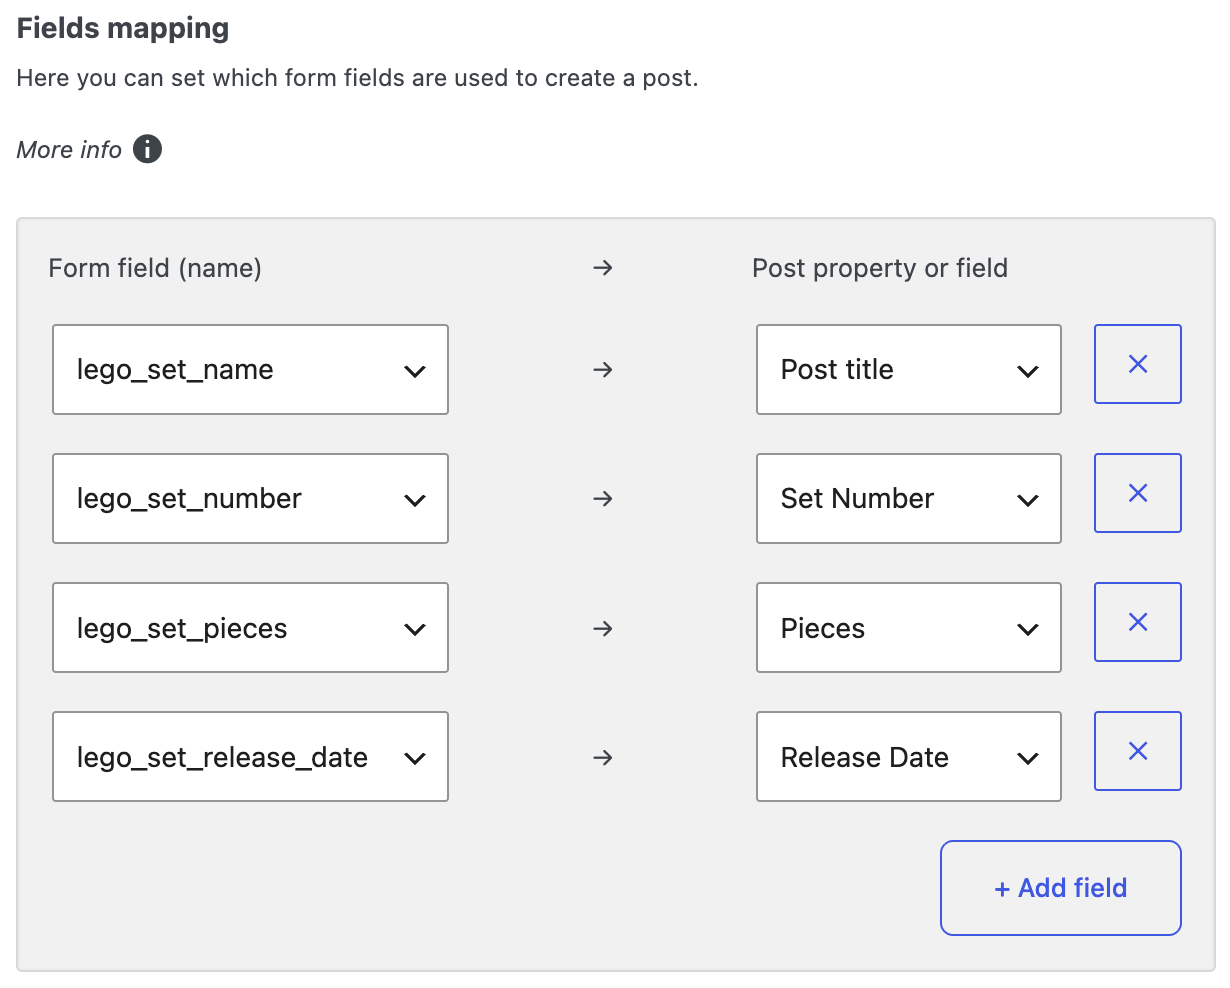
If a synced post type has been selected, all form fields are mapped to dynamic meta fields automatically. Individual form fields can additionally be mapped to standard post properties or taxonomies.
At least a post title should be mapped individually; otherwise, created posts will be assigned random titles.
By default, the author of a new post is the user who submitted the form. To assign a different author, a form input must be mapped to the post author property.
Additional processing of form field values can be implemented using the filter greyd_forms_posts_interface_data, which you can find in the Greyd Forms Filter Snippets documentation.
The values of the post array used to create or update the post can be filtered using greyd_forms_posts_interface_postarray, which you can find in the Greyd Forms Filter Snippets documentation.
Video
Hi, this is Sandra from Greyd and in this tutorial video
I will show you all the great possibilities you have for frontend post forms
that allow your users to update and create posts right from the back end
using a Greyd form.
I’ve prepared a use case example with page that lists of what if movies, and I want users to be able to just click this button.
Use this form to create a new movie post right from the frontend.
I’ve also already prepared the form itself with all the fields that we would need, like titled a description score, a country and an image upload as if you have already connected Greyd Forms with external tools like CRM, Zapier, Salesforce, HubSpot, anything like that.
You’re already familiar with the interfaces options here.
With front end post forms, you can not only connect external tools like CRMs, but also connect your posts to the form.
Then there are some general options that you have to decide on at first who should be able to create new posts using the form.
Could be anyone, could just be certain users.
Then of course you have to define which post type the post should be created in.
Could be regular page as a post, but could also be any of your custom post types
or synchronized post types.
And last but not least, you then have to define if you directly want to create
and publish a post or if you want to have them published as a draft first.
Some of the use cases, for example, is if you have a content editors that are responsible for creating new posts but are not really tech savvy, so you wouldn’t want to mess them around in the backend.
So from that post, forms is a great way to enable them to do that in a super intuitive interface
where you take tags, do anything wrong, but be aware directly publishing polls from users that are not locked in is a security risk.
Depending on who’s able to submit and what kind of form fields to allow them to to use.
You have to be careful because Greyd Forms obviouslyhas a lot of security features
that you can use, for example, limiting the amount of characters or the type of content that can be entered.
It still is a risk, because somebody from the outside is able to use a form to put data in your website. So please make informed decisions about these general options here.
If you’ve done that, the next thing is the field mapping.
I’ve already prepared that, but I will walk you through.
Basically what I do is exactly the same is, if what I would do if I want would want to send,
form entries to external tools.
I am selecting each and every one of my fields and define to what other fields
I want to assign this.
So in my case, these are all fields of my post, my post type, and these are my form fields.
And obviously, I want to assign the date field from up here.
With the date field and my post. And same for the title ranking.
The description is going to be synchronized to as the post excerpt.
Countries and image is going to be synchronized to the featured image.
You also have your taxonomies here.
You’ll have your dynamic meta fields here.
And your standard fields as well.
If we now do that.
Now we will be able to create a post right from the front end.
So let’s just update the page.
Keep it very simple.
Create a movie from America. We don’t need that image now. And we can update the movie form as submitted.
Let’s update the page.
And here in my test movie that I just created without being in the backend at all.
I didn’t have to think about anything layout related.
I just put in the fields and that’s there, including a single template and everything that belongs to that.
So now we’ve enabled an external user to create posts on our website.
What if we also want them to be able to update and edit existing ones. There’s just one extra step we need to do for that.
So we go back to our form and then order for the form to be able to update a post.
We of course need to tell it first which post to edit.
So there’s just one checkbox we need to activate, which is allow post editing.
And then we need to select which post we want to edit.
In most cases it will be the default option which is the current post.
So the post on which page the form is placed.
That’s like in our case, this is the post page and we have the form directly here
on the post page.
If you have your form at any other page of the website, that’s also possible in that case, just select specific post and enter the post ID of the post that you want to have updated the post.
The post ID can always be found in the URL.
For example, the post idea for a forum post is 7794, but in our case we will use the current post
and that’s basically all we have to do.
Now saving the post actually.
Also, one thing that I didn’t mention before.
By default, the post author will automatically be set to the person editing the post.
We add a form, so creating the post via the form.
If you want a different author to be set, for example, with you, then just add a hidden field,
or any other fields to your form with the author information and then map it to where do we have it here to post to author.
But now let’s see whether our post editing is working.
So we go back to the page refresh, and you will directly see that in WordPress when you open the form now, because now you will directly see the entries that are currently in your form fields.
And that’s not to make some changes.
Let’s call it test what movie 1a, we want some new text in here, change the writing, maybe leave the rest.
Update post and you will directly see a success message.
And if we now refresh the page, we will see that the changes are directly live.
On the left side we have the A here, we have the new text and we have the different writing.
So front and post forms is an extremely powerful feature.
You do have to be careful how to use it, because it does enable users to make changes
on your website from the frontend.
So be very careful like we said in the video on how you can whom you grant that rights,
why you place the form, etc. but if you do it right, you can use it.
For example, to have users with no technical knowledge at all edit an entire website from the frontend without ever having to log in to the backend.
For more videos and information, please visit our Helpcenter.
